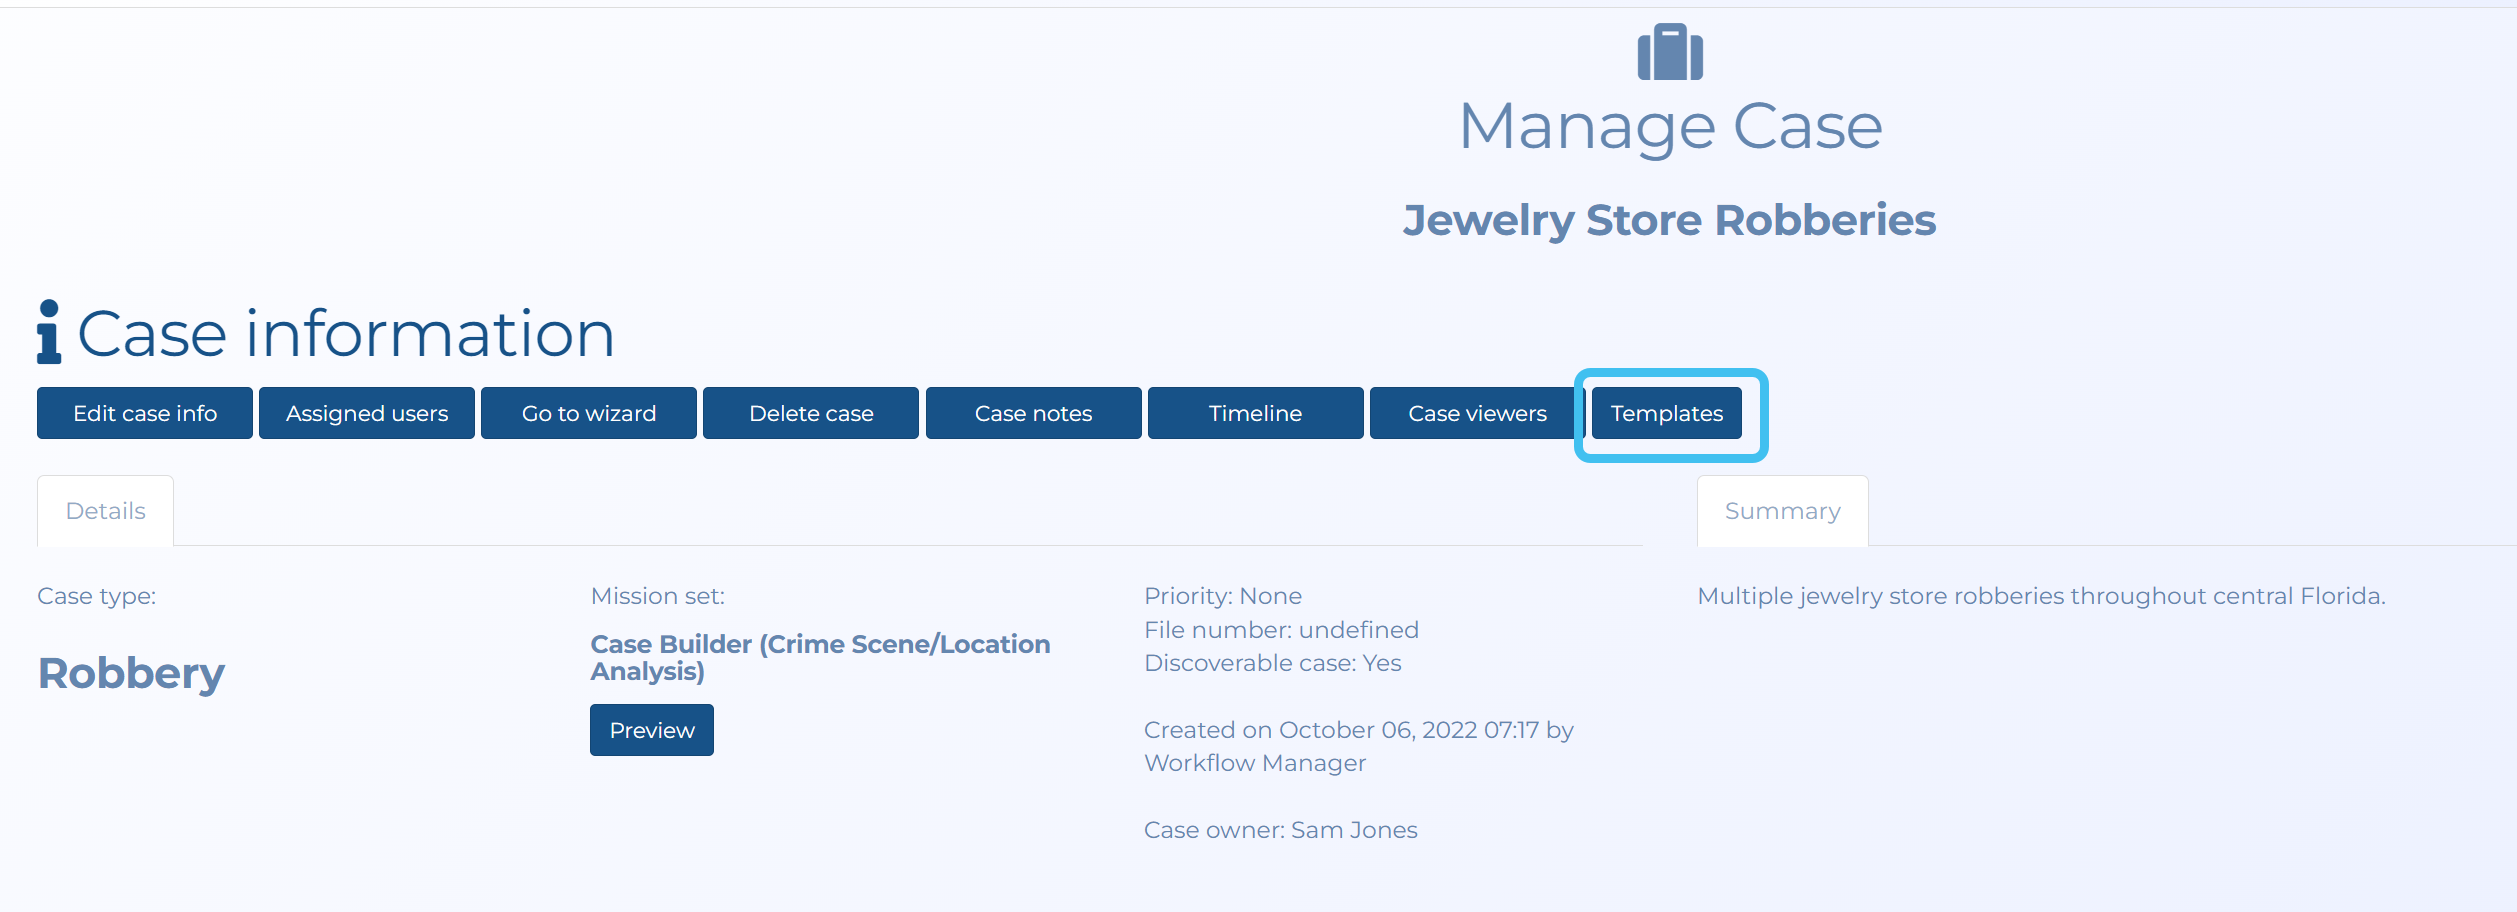
Templates help you efficiently create documents such as detailed search warrants to one page CALEA sheets. You can use the templates in a case by clicking Templates on the Manage case screen, and you can also use templates without an associated case from the main menu in Templates. If your OSS-ESPA account also supports the OSS-SRN Express Portal then these templates are also made available to users of the OSS-SRN Express Portal.
The templates use different types of keys:
User keys: before using the templates you must enter the details for your user keys. User keys are common words and statements that are specific to you, such as your title and training experience. Once you enter your details for each key, the details are then used automatically in all your templates to help you efficiently create documents such as warrant affidavits.
Case keys: which are those that are specifically associated with the case such as the target phone number.
Global keys: are there for information only. These settings are pre-configured, such as the date and time, and you cannot edit these.
The templates available to you are created and managed by either your administrator or by a user who has the Templates manager permission.
This feature requires option E25 Template builder. If you do not have this option this feature is not available.
How do I create a location key for tower dump and geofence templates?
How to create a location key
To create locations in a tower dump and geofence warrant template; in OSS-ESPA create your required keys where Key type is set to "Location", for example you may wish to create four keys to be used for the location name, latitude, longitude and radius. Next add a location section to your template which starts with [[LOCATIONSTART]] and ends with [[LOCATIONEND]], adding the [[Key name]] of each of your keys in between, for example [[LOC.Location.Description]].
When someone then uses this template they are prompted to enter the number of locations and the location details as defined by the keys, for example, location name, latitude, longitude and radius.
As a customer administrator the first step you must perform is to create a template, this involves identifying the key words in your Microsoft Word template file that are to be completed by the users then uploading the file to OSS-ESPA. This is described in the following procedure.
NOTE: This topic is only for administrators or users with the Templates manager permission. If you are not an administrator or do not have this permission and simply want information on using templates and keys refer to Using templates.
In your Microsoft Word document, identify key words that are to be completed by the users, such as affaint name, date, report number, target phone number, and probable cause narrative. These keyword are all assigned an individual key. There are three types of keys: user, case and global.
User: use this for information that is specific to an individual user. This type of key uses data from the user's account that is the same for all their cases such as their name, badge number, agency, title, assignment, years of experience, training and experience. When this option is selected you can choose whether the user requires a small or large text box for the information using . The user can enter their personal information for these keys on their Manage user keys screen and then for each template they create this information is automatically populated.
Case: use this for information that is specific to an investigation. This provides a section in the template for the user to manually complete details such as a report number, target phone number, service provider, date of records, and statement of probable cause. When this option is selected you can choose whether the user requires a small or large text box for the information using .
Global: use this for information that is relevant to the entire organization. This replaces the key with a fixed value such as the date, agency name, investigating agency, county, and district attorney. Users cannot edit these types of keys. The type of fixed value is selected in .
Location: use this when you are creating tower dump or geofence warrant templates where you need to enter multiple location details. For specific details refer to How to create a location key.
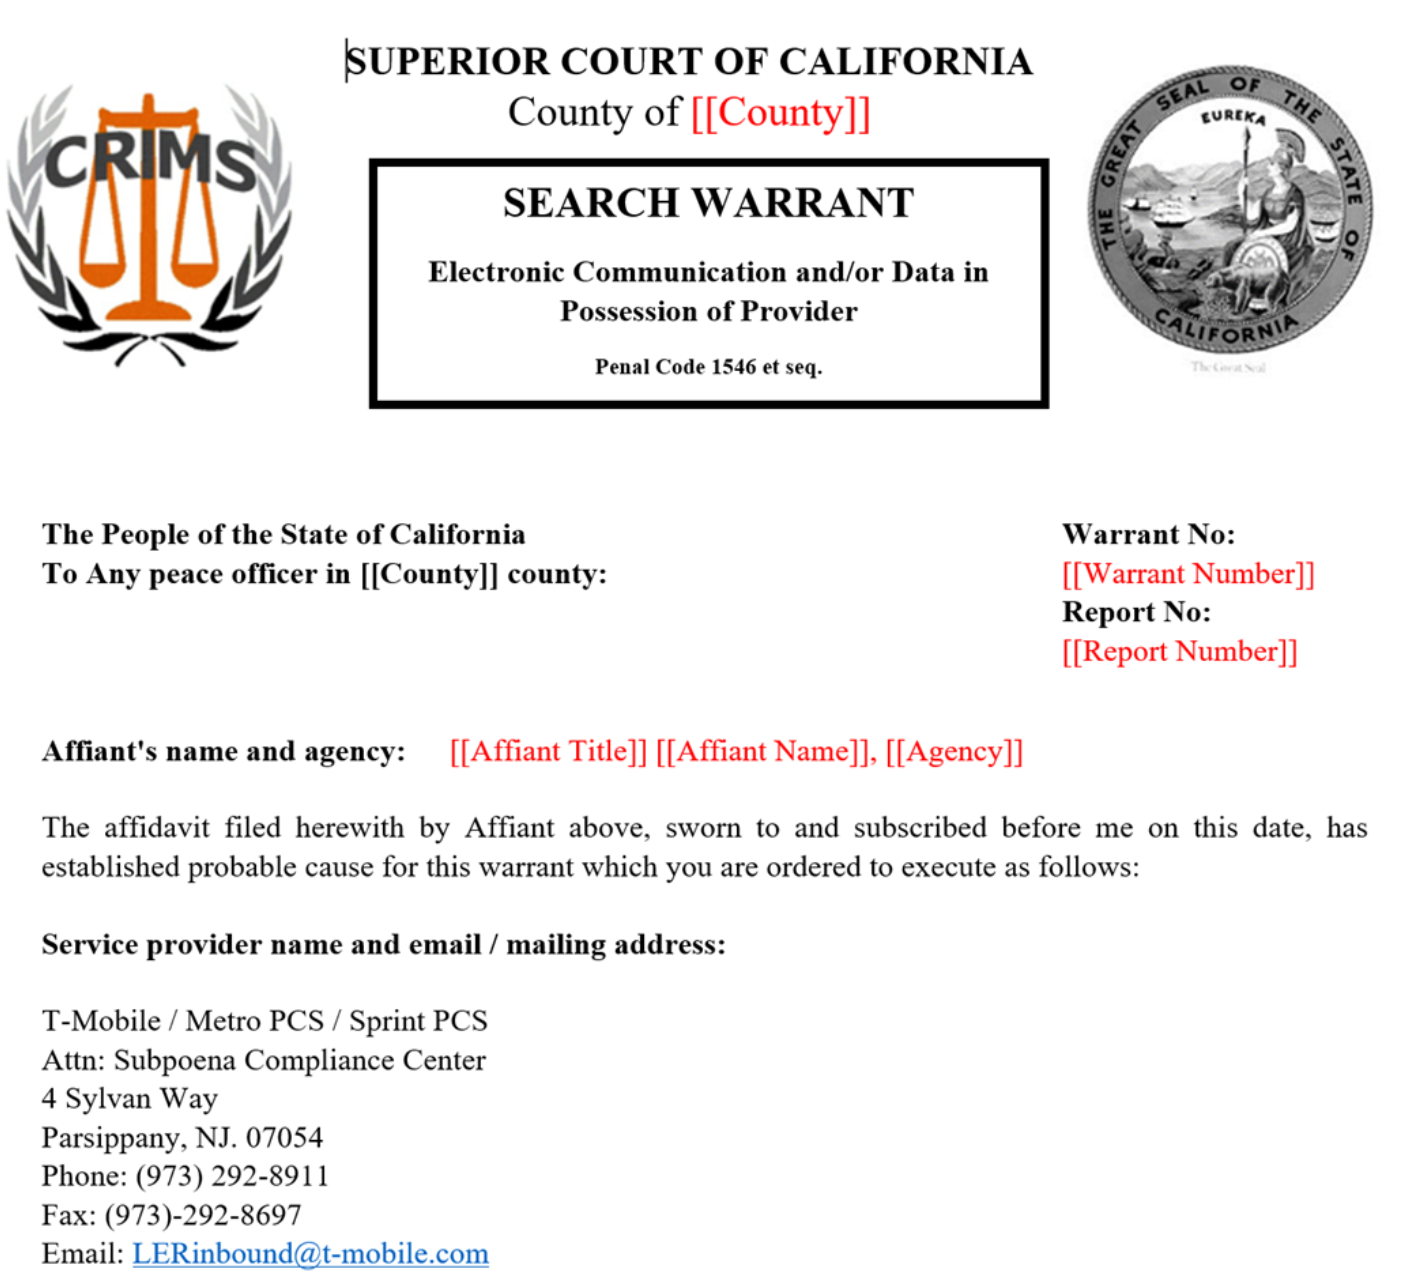
Insert [[ ]] around each key word that you identify. Note, these key words are later added to the Key management screen as detailed in How to create a key.
The following example shows keys inserted into the document. Note, keys do not have to have the same name as their description, for example you can create a key with the number "1" but assign it a description of "First Name".
Once complete, upload your template to OSS-ESPA. To do this:
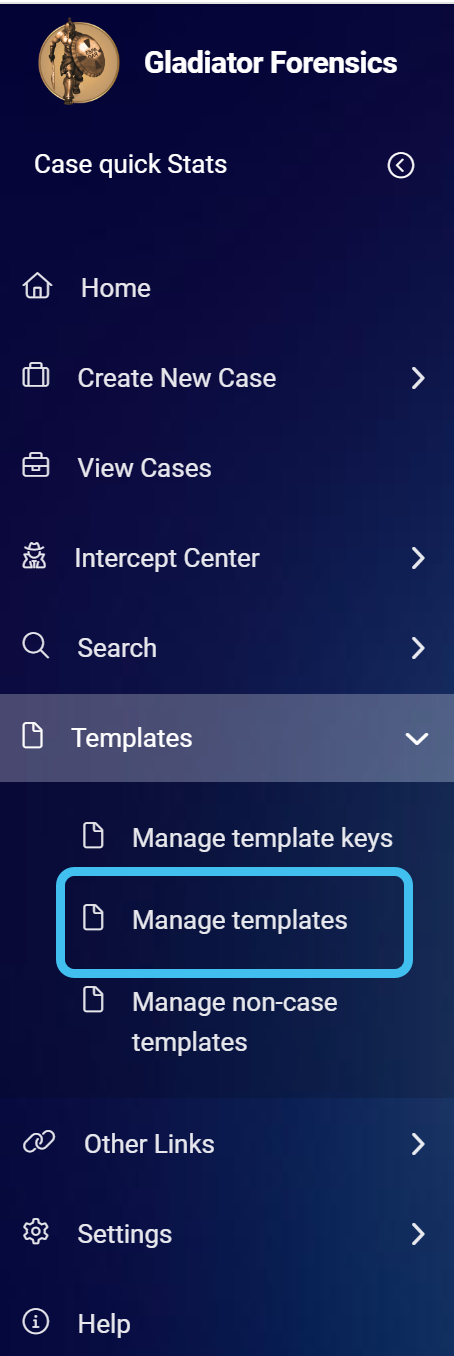
On the main menu click Templates, then click Manage templates.
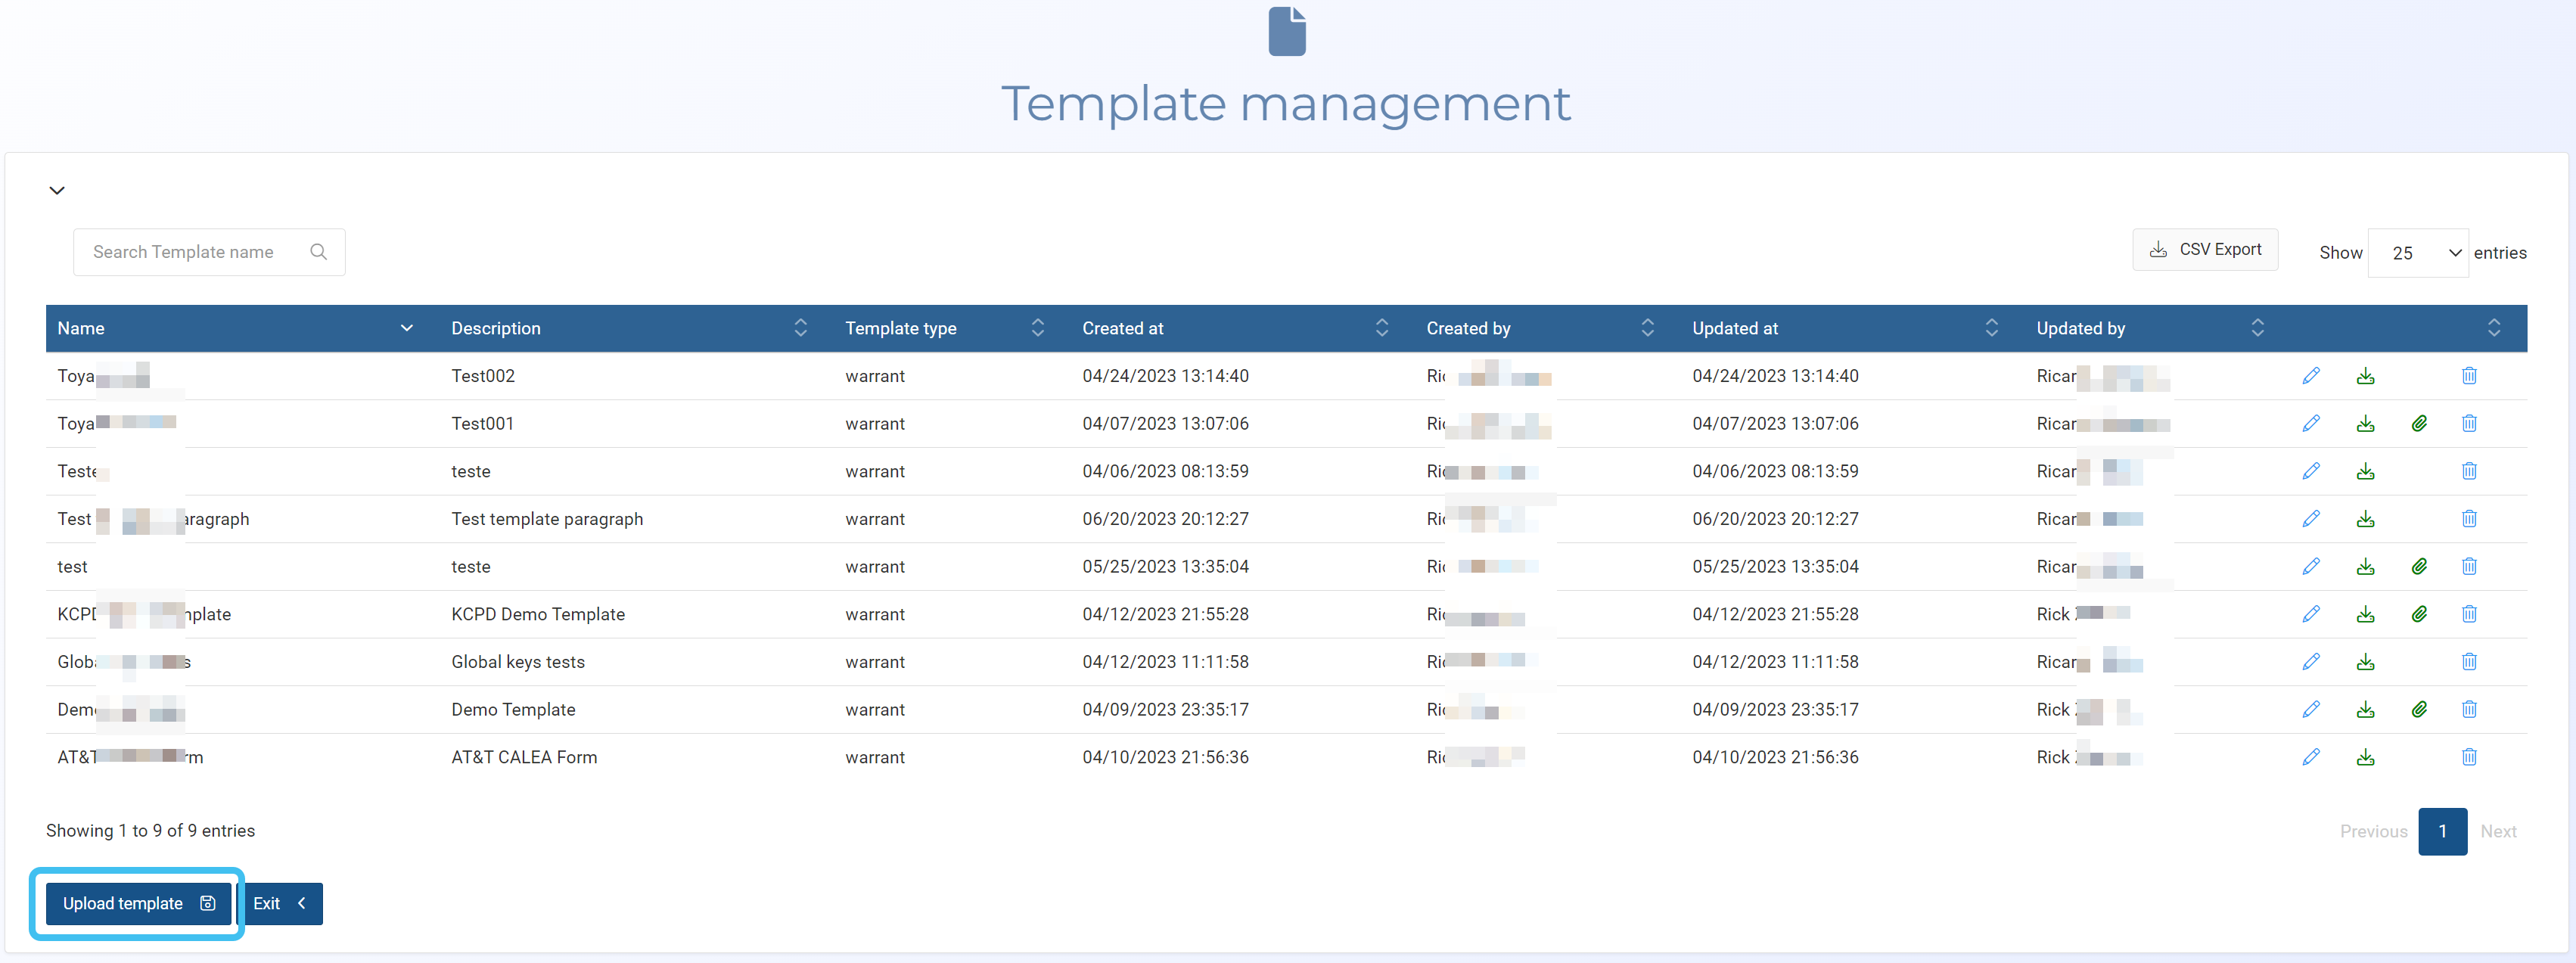
The Template management screen opens.
Click Upload template.
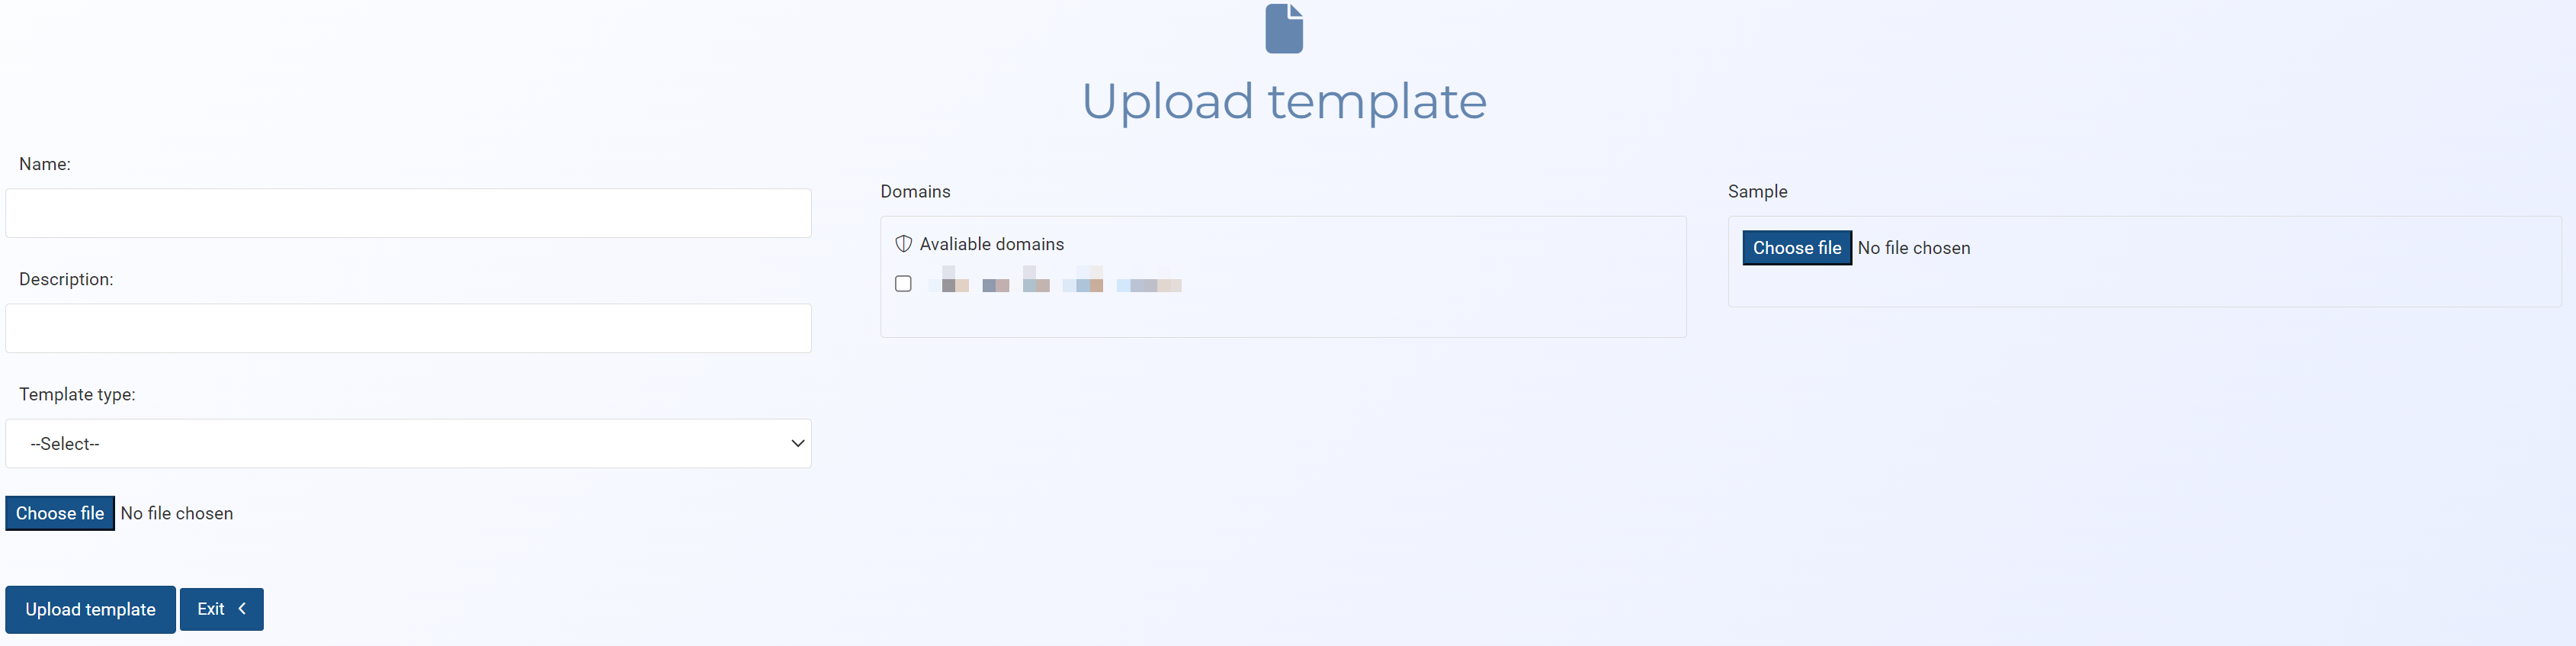
The Upload template screen opens.
In Template name, enter a template a name.
In Description, enter a description for the template which is meaningful to you that may provide further clarification of the template's purpose which could not be included in the Name.
In Template type select the type of template you are uploading. This helps you filter the templates based on their type on the Template management screen and also when users are using the templates in their cases.
Click Choose file. Windows Explorer opens. Navigate to the folder containing your template file, select the required file then click Open.
If you are deploying an SRN then in Domains, select the external domain names that you want to have access to the template.
In Template notes you can include any notes or instructions so that people using the template understand how to use it. This text is then displayed when you hover over Template notes ? on the OSS-SRN Express Portal, the Add case template screen and the Add non-case specific template screen.
Optionally, in Sample, click Choose file to upload a file of any format, which provides a sample of the template's appearance when complete. This provides the user with an example of what the completed template looks like and therefore helps them author it appropriately. Windows Explorer opens. Navigate to the folder containing your file, select the required file then click Open.
Click Upload template.
For any key words you identified in your Microsoft Word document, you must now create keys in OSS-ESPA as described in How to create a key.
How do I create keys for templates? (Administrators only)
How to create a key
As a customer administrator, after you have created a template you must create keys in OSS-ESPA for the key words you identified in the template. This is described in the following procedure.
NOTE: This topic is only for administrators or users with the Templates manager permission. If you are not an administrator or do not have this permission and simply want information on using templates and keys refer to Using templates.
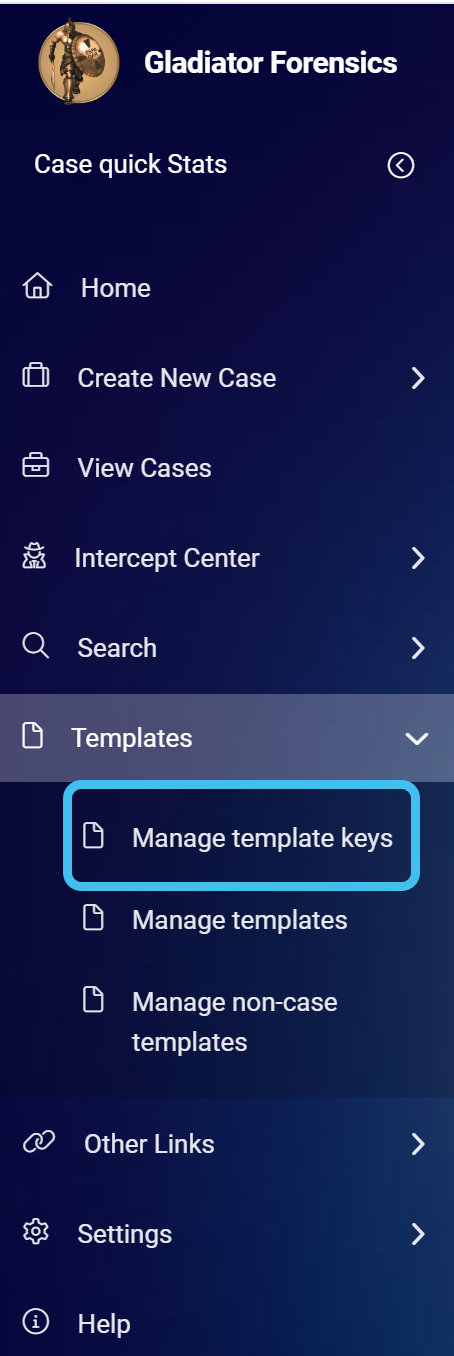
On the main menu click Templates, then click Manage template keys.
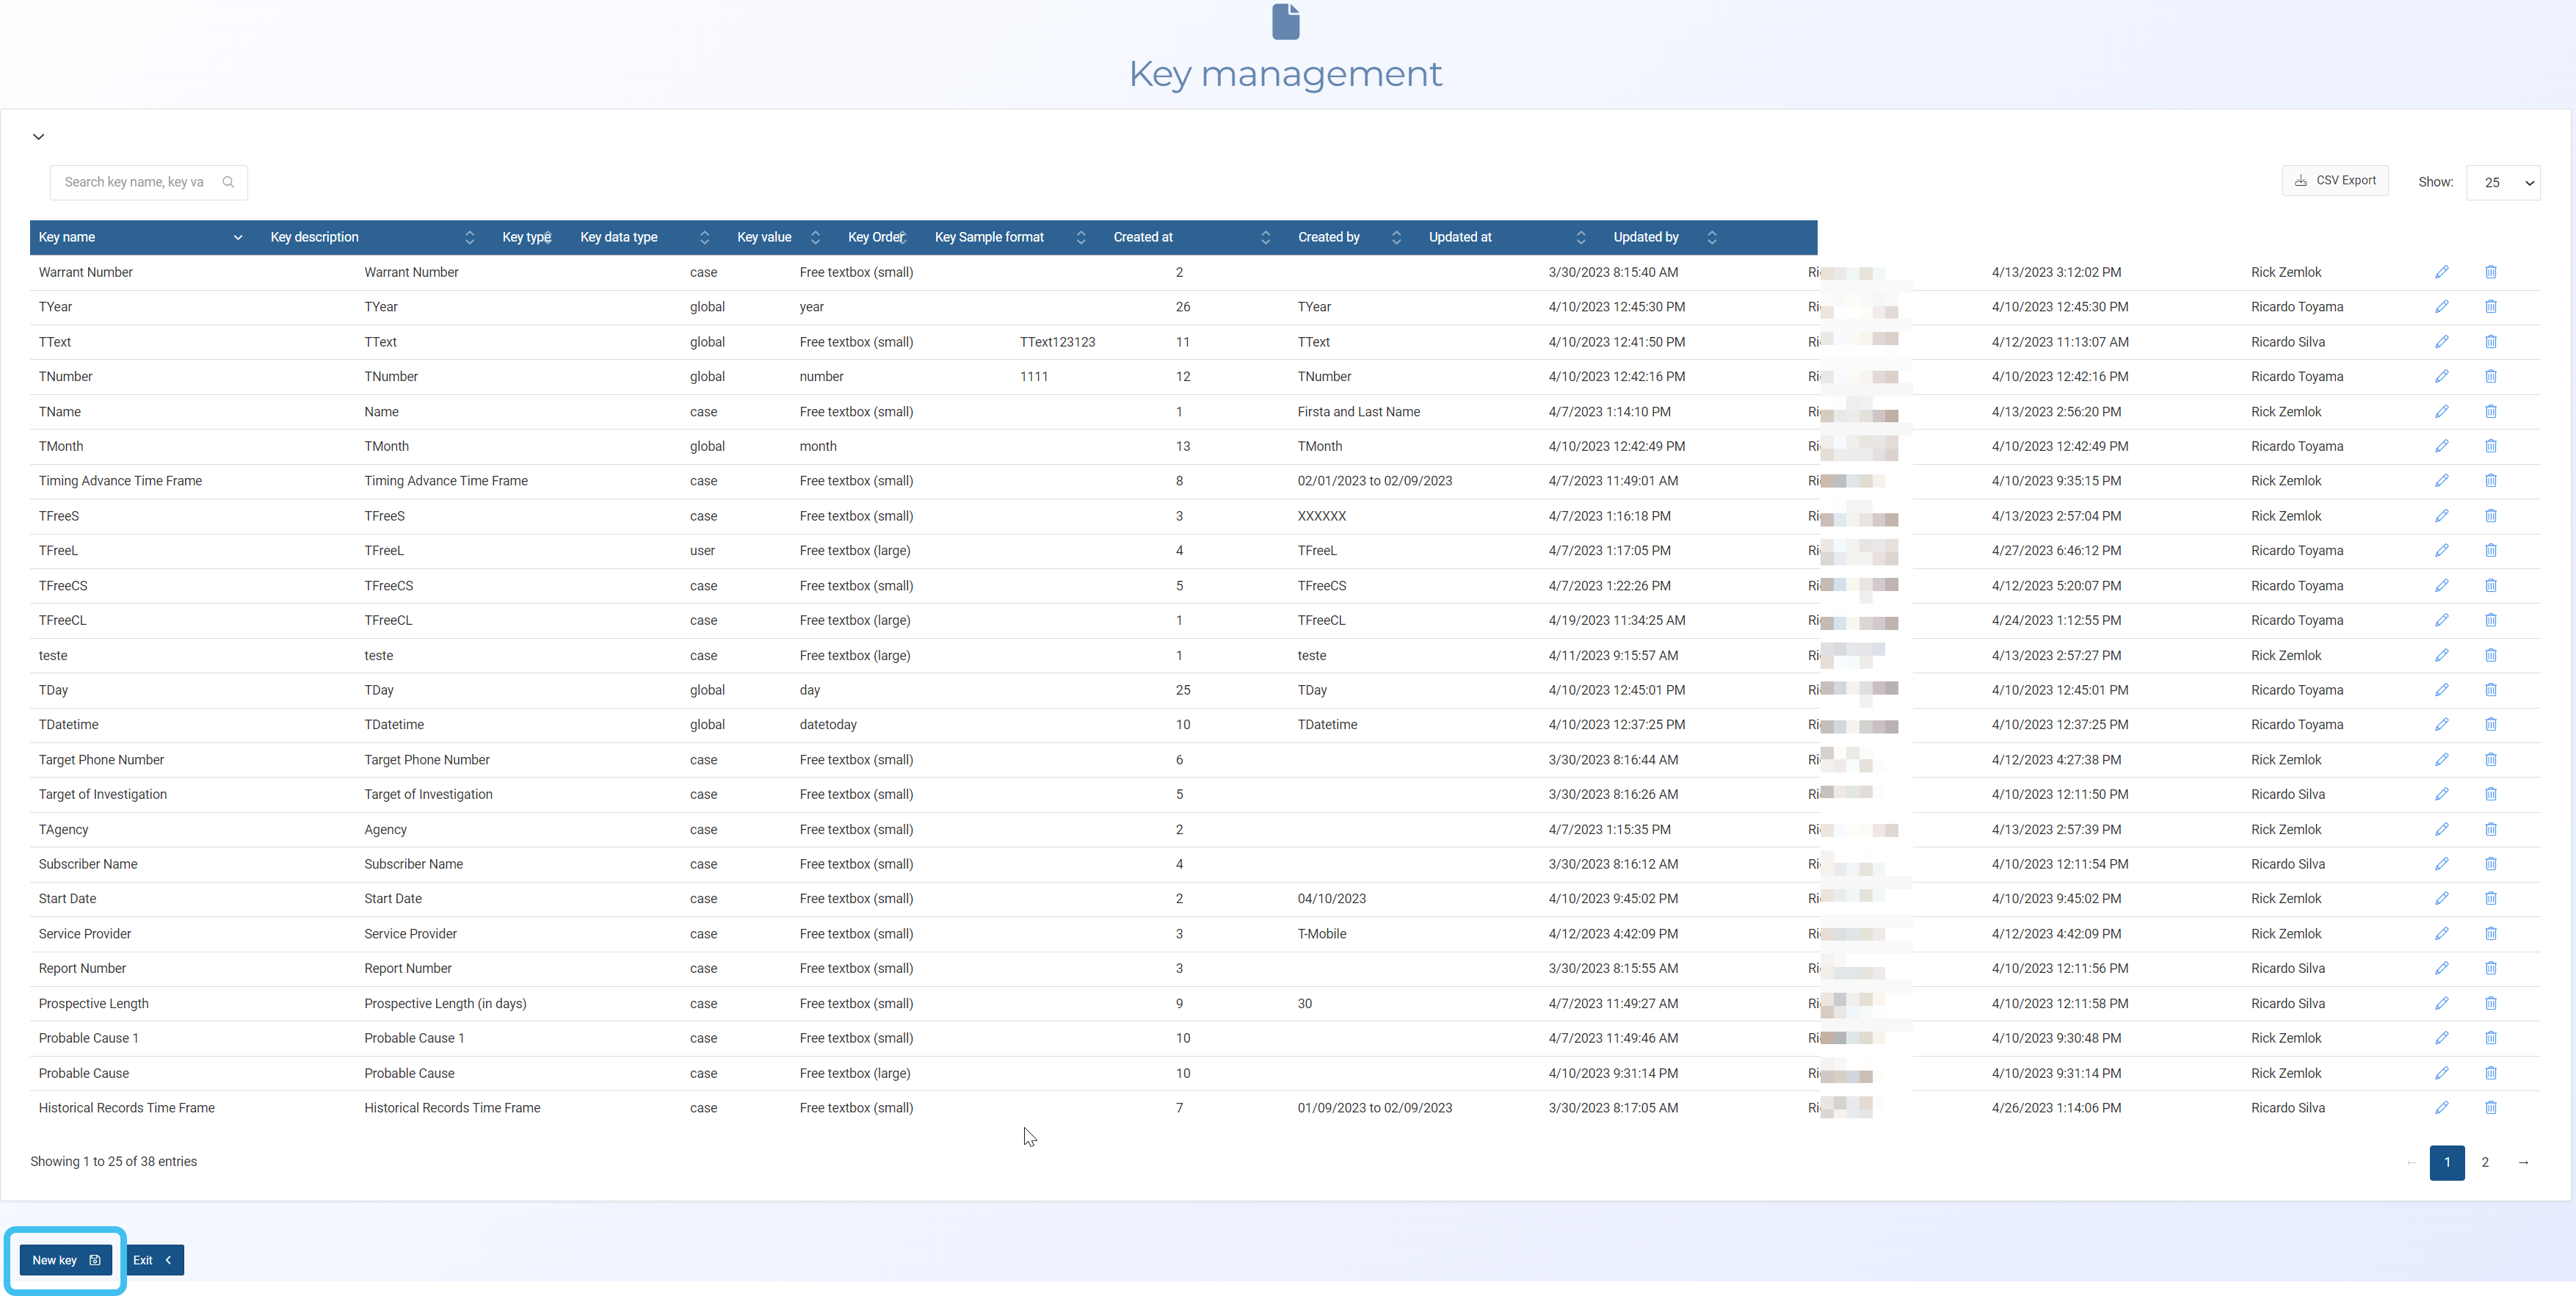
The Key management screen opens.
Click New key.
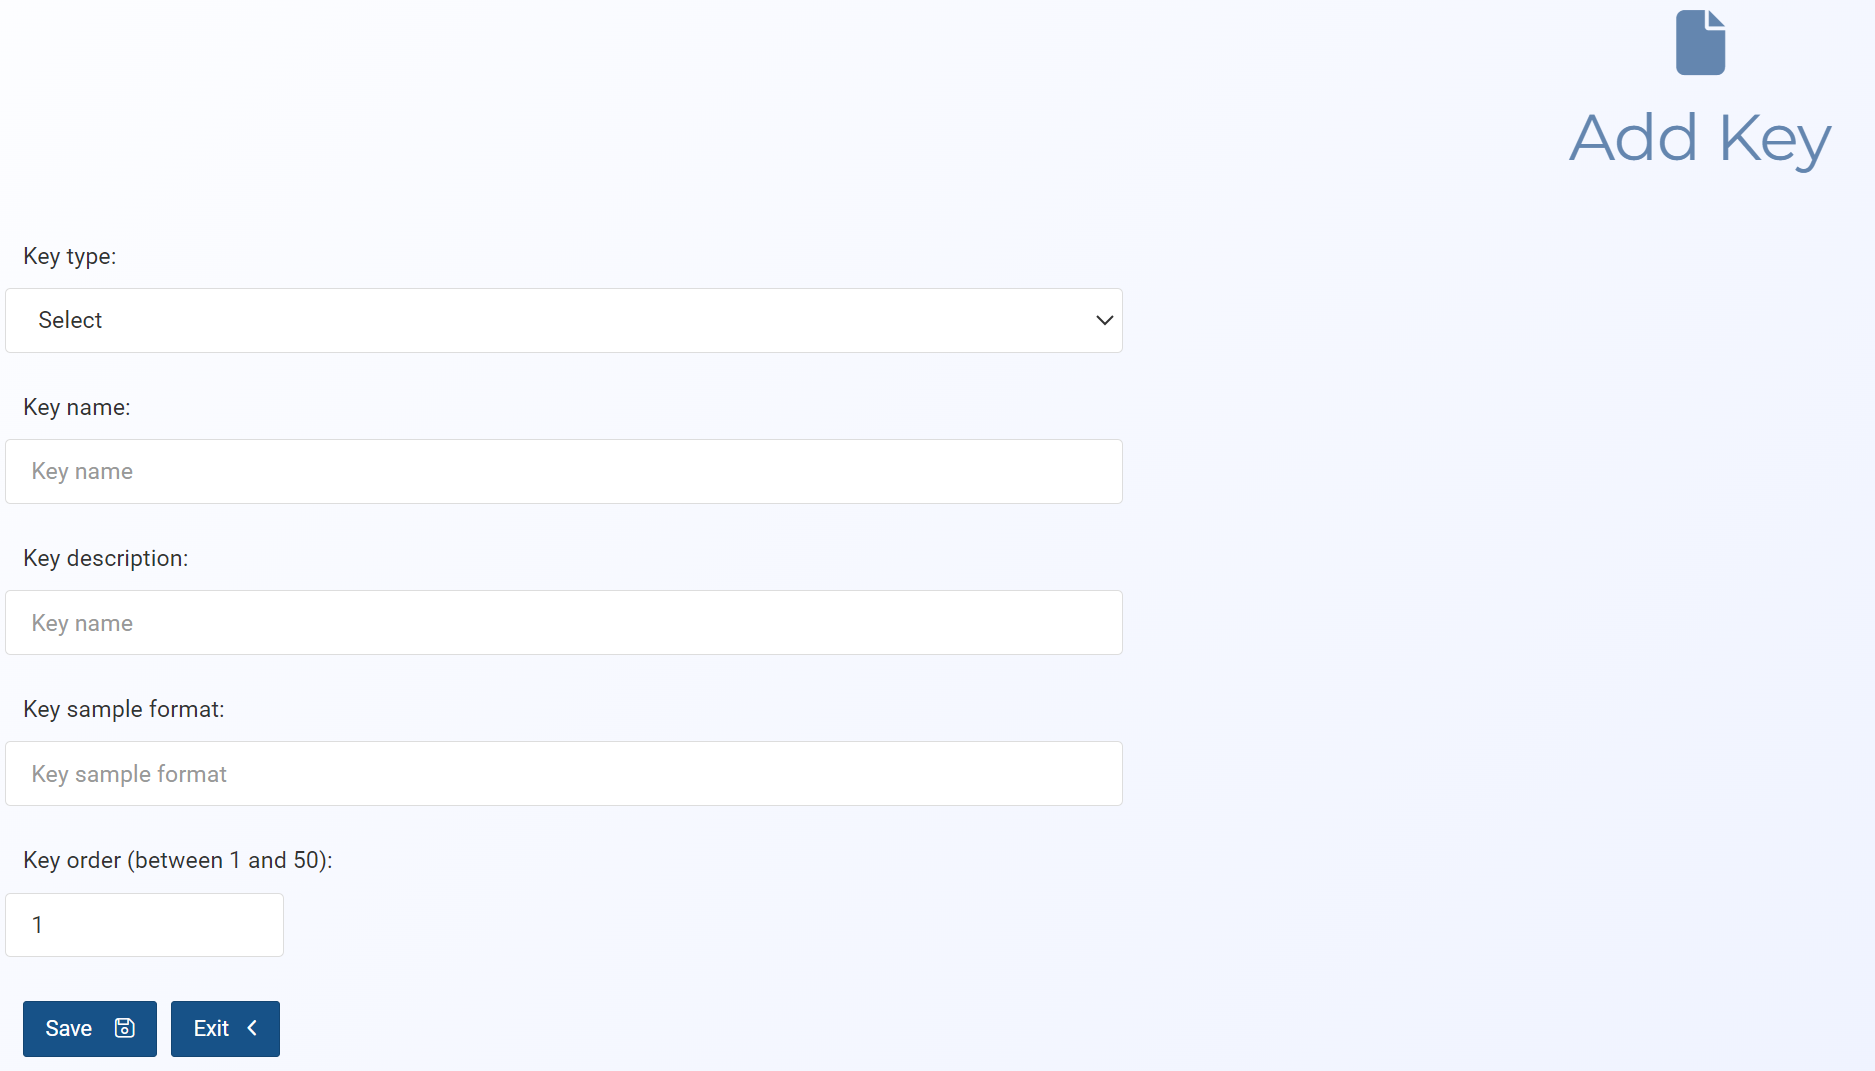
The Add key screen opens.
In Key type, select the type of key you want to create.
User: use this for information that is specific to an individual user. This type of key uses data from the user's account that is the same for all their cases such as their name, badge number, agency, title, assignment, years of experience, training and experience. When this option is selected you can choose whether the user requires a small or large text box for the information using . The user can enter their personal information for these keys on their Manage user keys screen and then for each template they create this information is automatically populated.
Case: use this for information that is specific to an investigation. This provides a section in the template for the user to manually complete details such as a report number, target phone number, service provider, date of records, and statement of probable cause. When this option is selected you can choose whether the user requires a small or large text box for the information using .
Global: use this for information that is relevant to the entire organization. This replaces the key with a fixed value such as the date, agency name, investigating agency, county, and district attorney. Users cannot edit these types of keys. The type of fixed value is selected in .
Location: use this when you are creating tower dump or geofence warrant templates where you need to enter multiple location details. For specific details refer to How to create a location key.
In Key name, enter a name for the key which must match that in your template.
In Key description, enter the name you want displayed for the key when the user is filling in the template details.
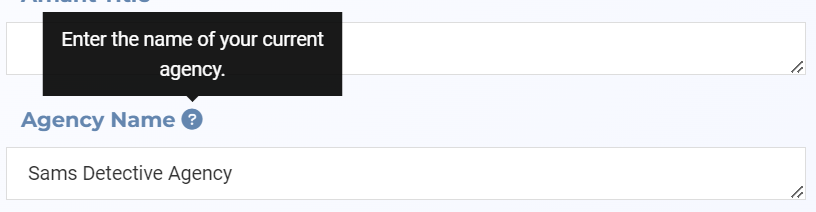
In Key sample format, you may want to enter an optional tip for the format or type of text the user should enter. This then appears as a pop-up tip in the template. For example, if the key is intended to be an email address you could enter xxxxx@xxx.xxx.
In Key data type, the menu varies depending on what Key type you selected. Select the option for your key.
Global, it allows you to define what type of fixed data is to be included in the template.
Date time today: displays the current date time using the format MM/DD/YYYY, for example 11/09/2022.
Current month: displays the current month, for example November.
Current year: displays the current year using the format YYYY, for example 2022.
Current day: displays the current day of the month, for example 9.
Text:
displays a small text box in where you can enter a short textual description.
The text box allows you to enter a maximum of 108 characters.
Number: displays a small text box in where you can enter a number. OSS-ESPA verifies that it is a number that is entered rather than text.
User or Case, it allows you to either select:
a small or large text box for the user to enter their information.
The small text box allows you to enter a maximum of 108 characters. The large text box allows you to enter a maximum of 10 rows and 5000 characters. For example a title would require a small text box and a resume of qualifications would require a large text box.
Advanced drop down: allows you to create a type of key where the user can then select an item from a drop-down menu and this then automatically populates other keys in the template. For example, you may wish to create an advanced drop down for an assistant attorney such that when the user selects the assistant attorney's name then their additional details such as their telephone number, email, and address are automatically completed. For further information refer to How to create a pick list.
Calendar: allows you to either select a date or custom text.
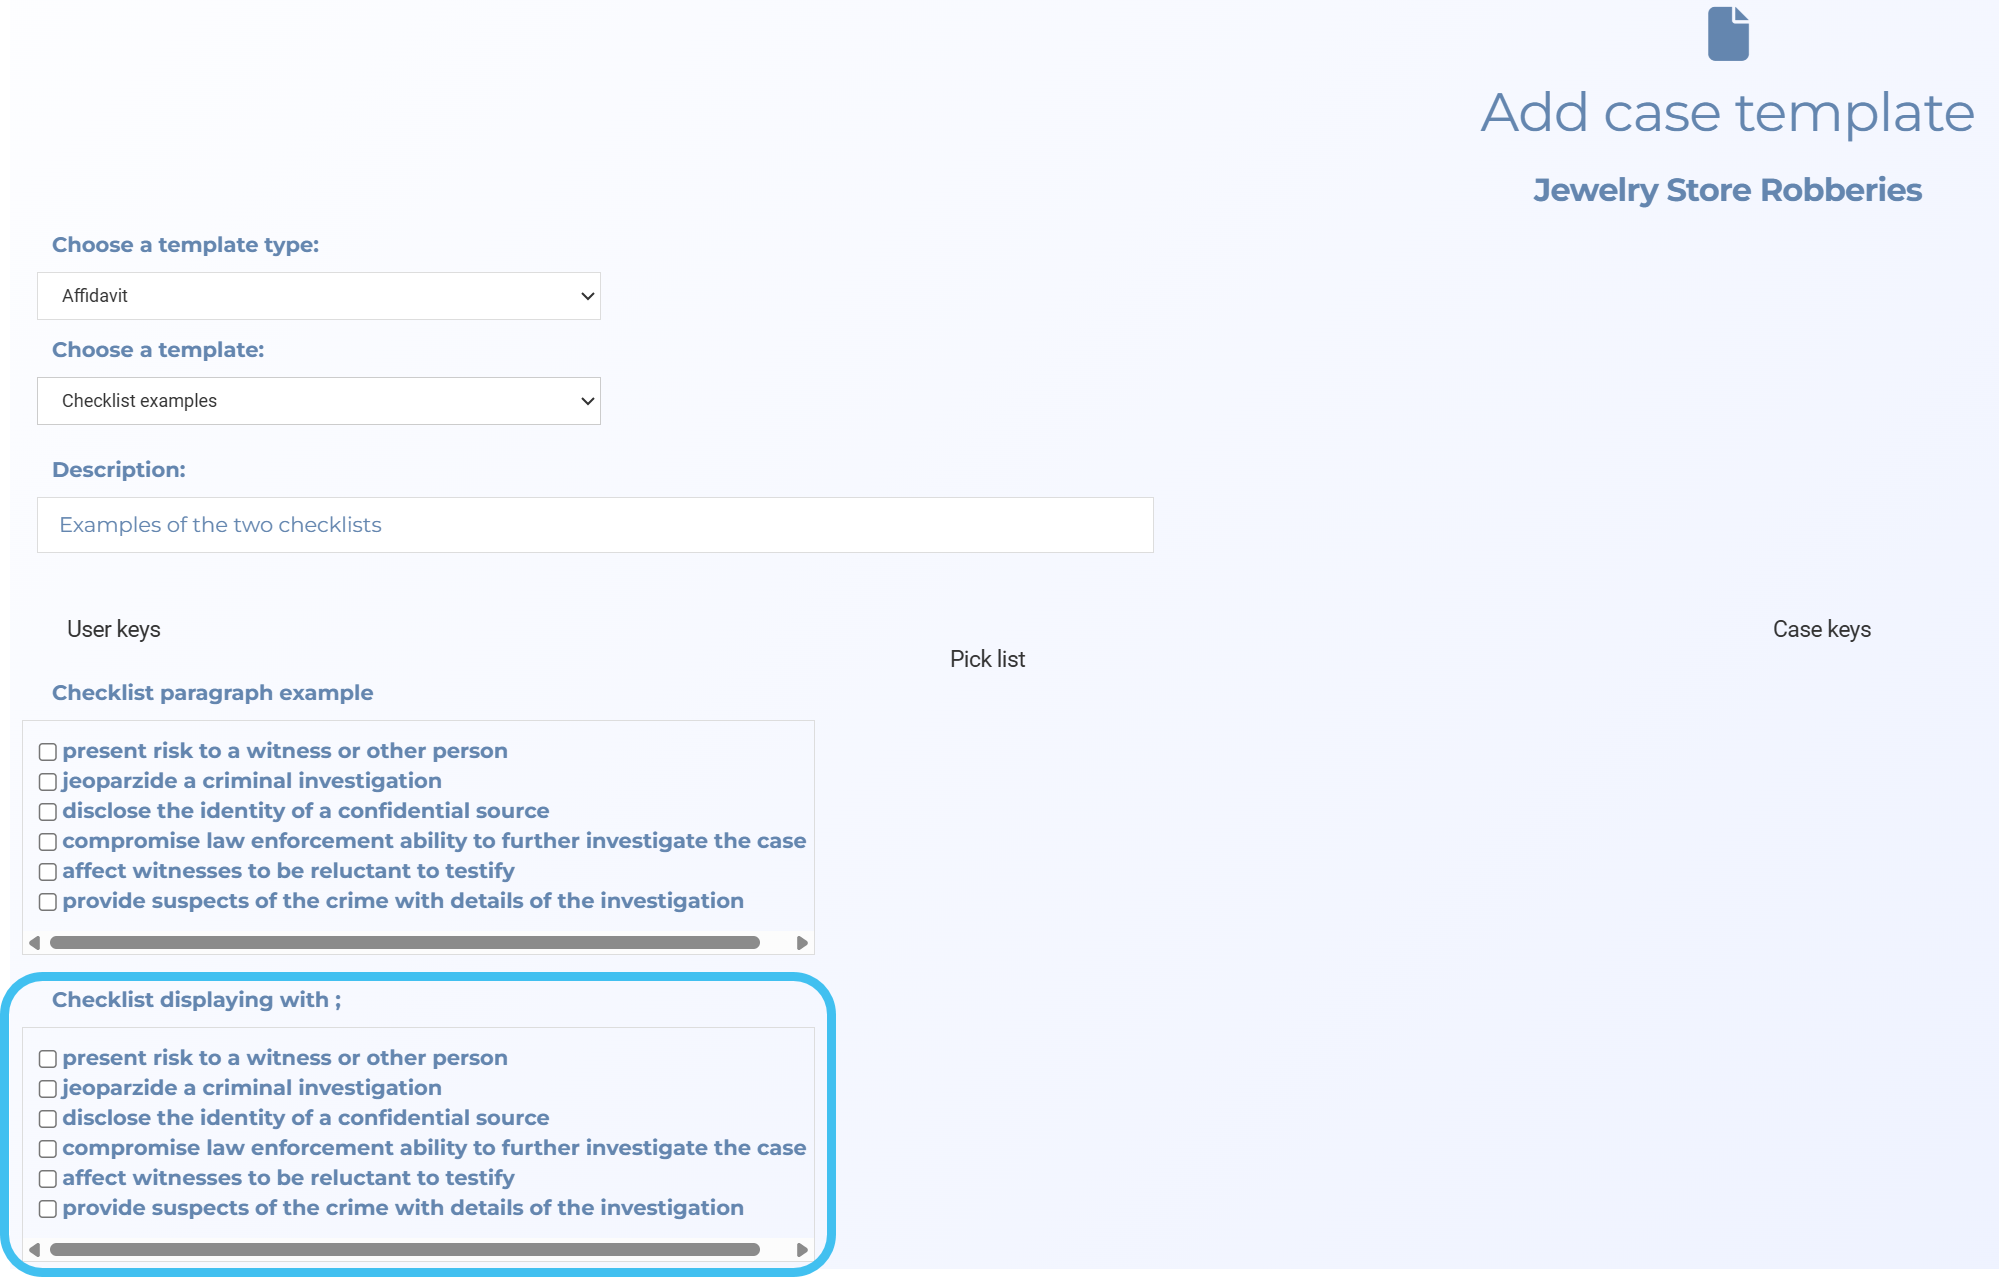
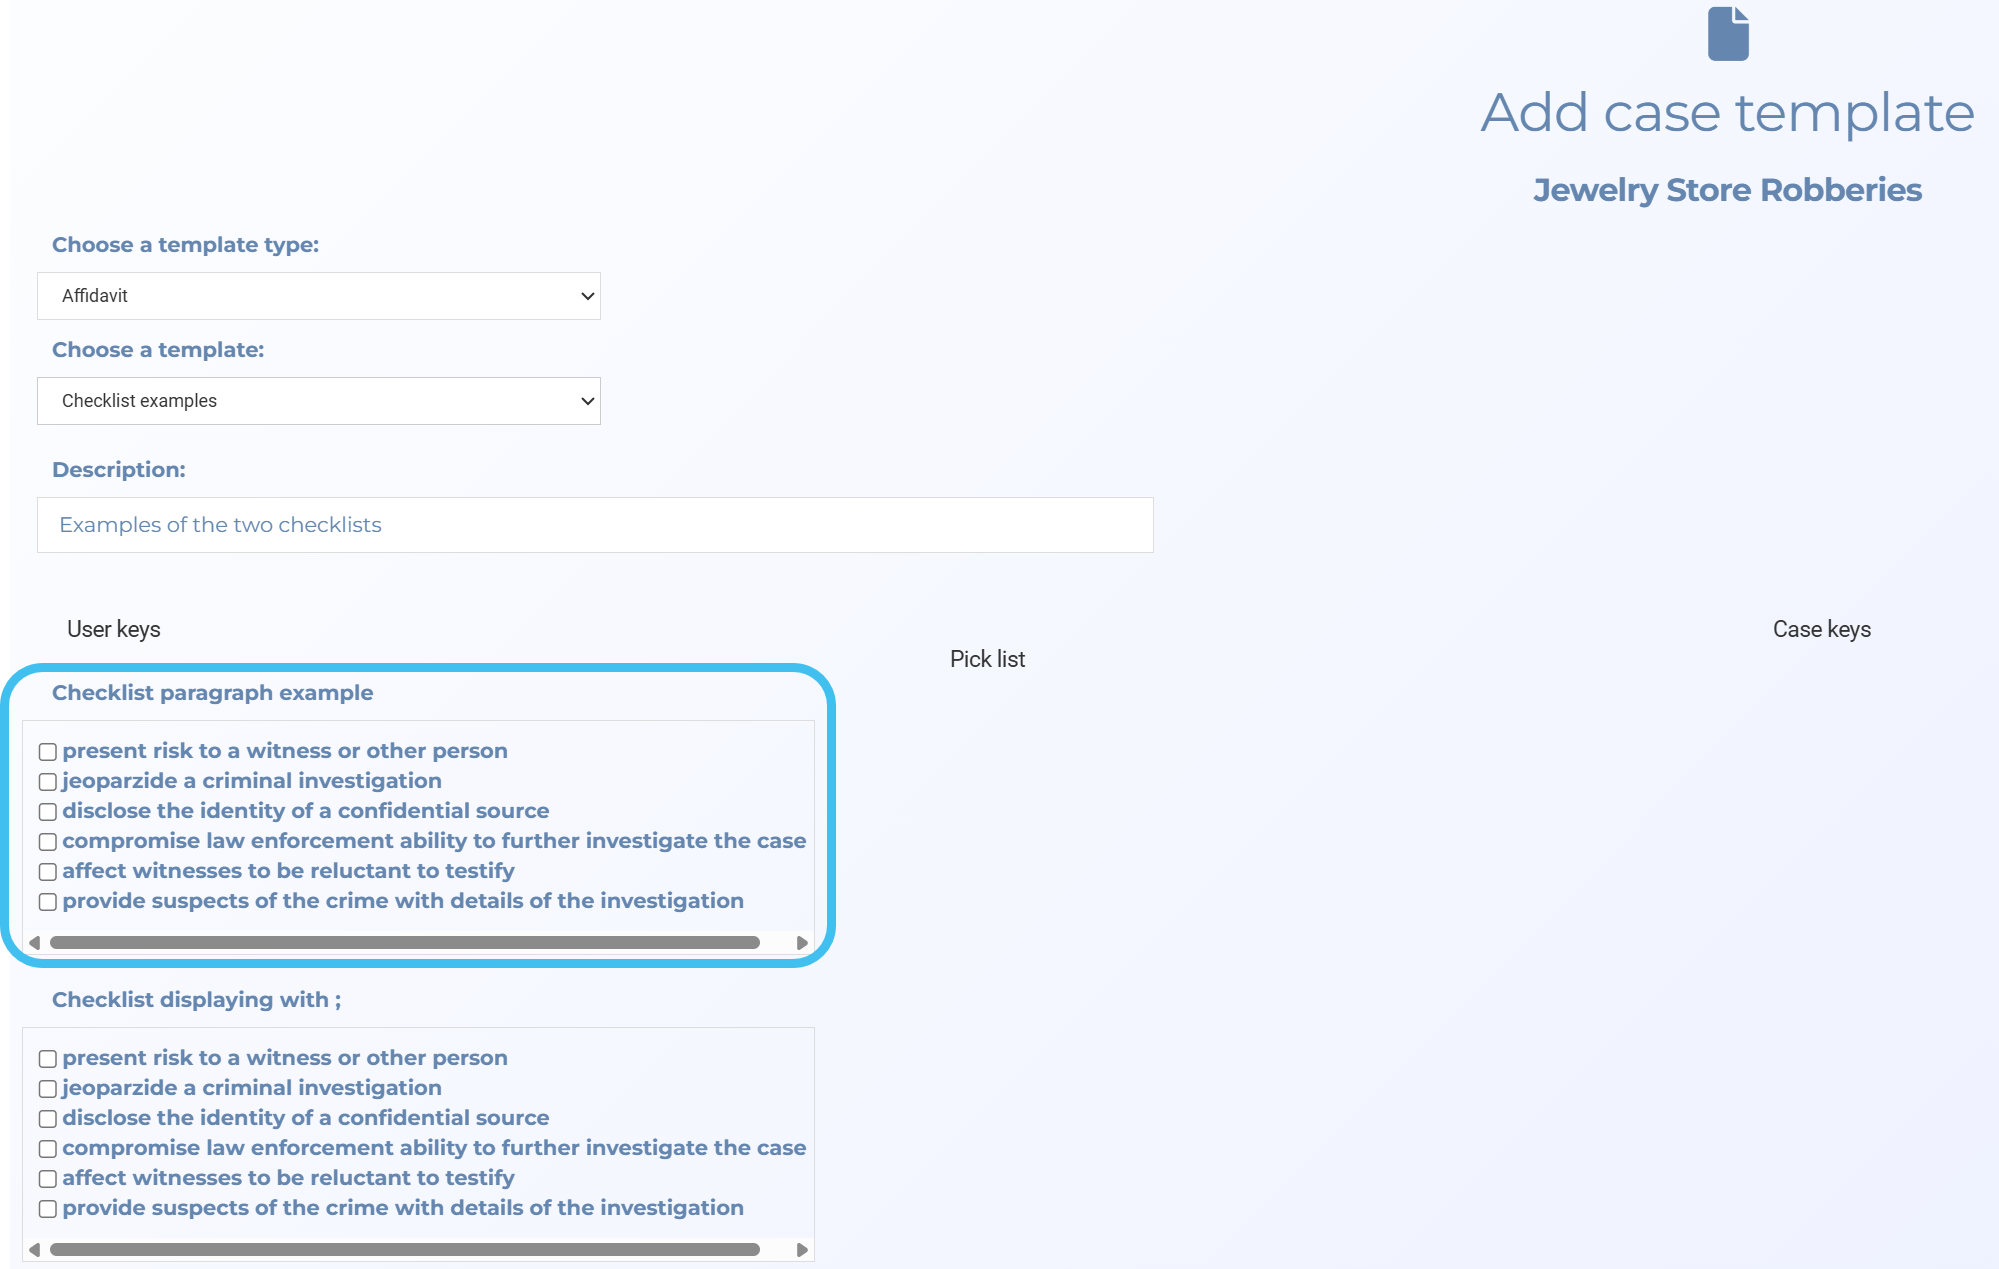
Check list with separator: allows you to add checklist boxes to your templates so that the user can select the appropriate check-boxes and the output lists the check-box items one after the other, separated by a character defined in Key value.
This outputs as:
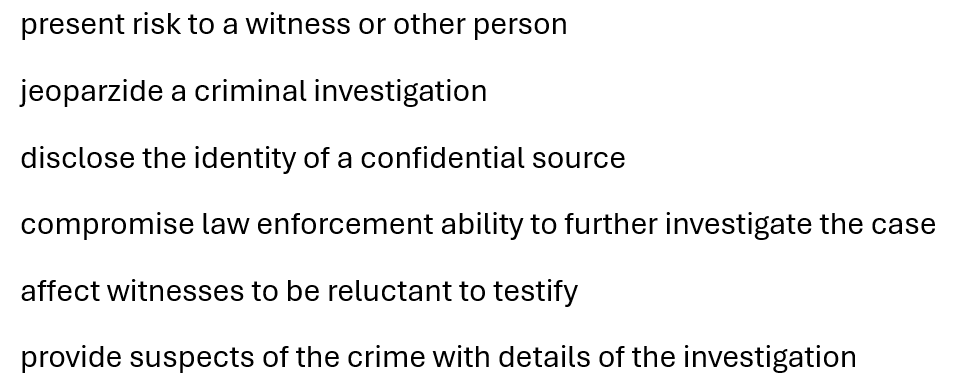
Check list paragraph: allows you to add checklist boxes to your templates so that the user can select the appropriate check-boxes and the output lists each item on a new row.
This outputs as:
In Key order, enter a value to define the order the keys are displayed to the user on their Add/Edit template to case screen. The keys are displayed on this screen in separate groups based on whether they are user, case, global keys or locations, therefore each key type has its own set of numbers. For further information refer to Key order.
Click Save. Your key is saved and you return to the Key management screen.
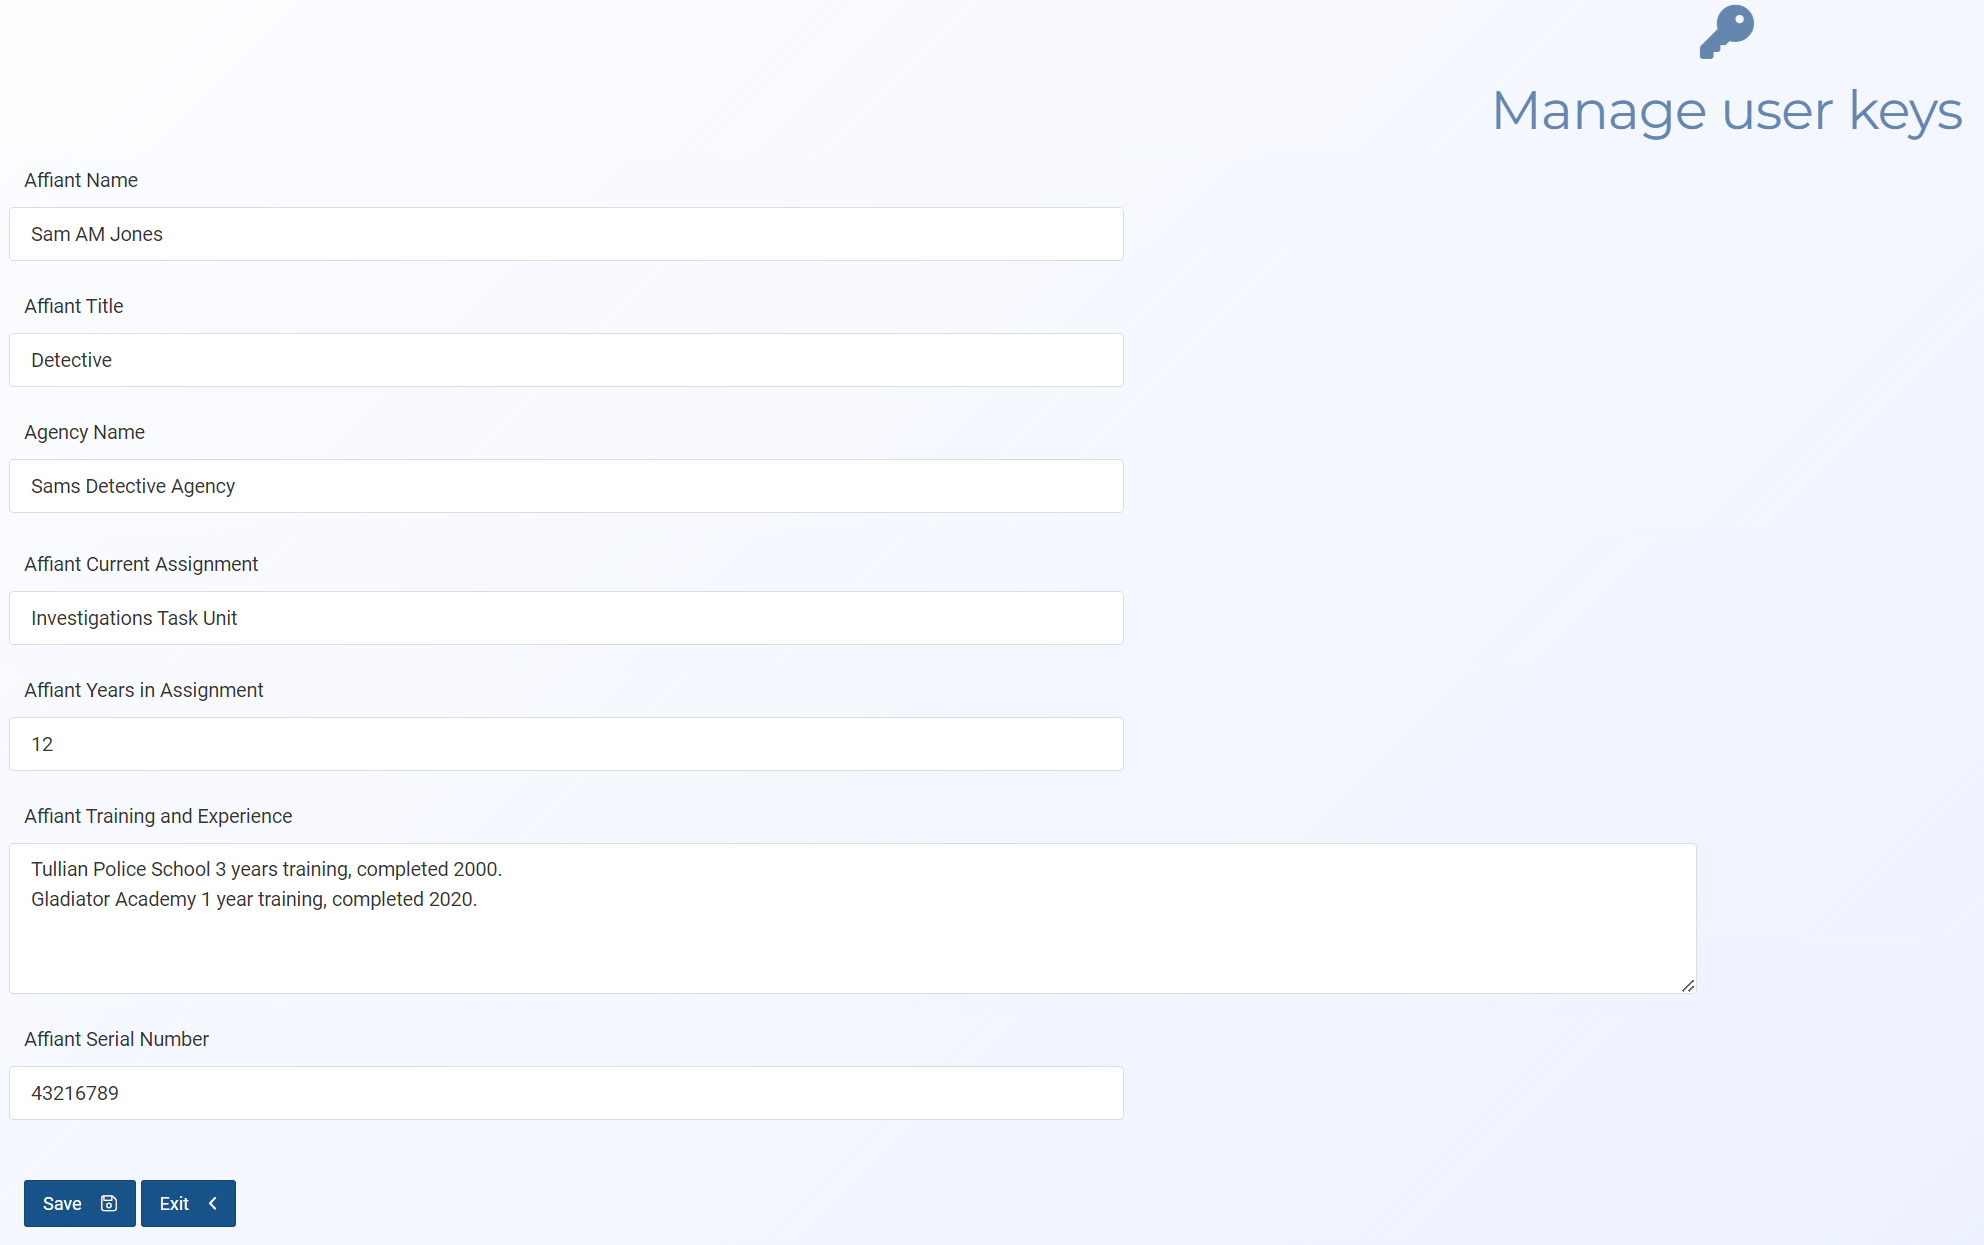
Firstly, if you have not already done so, complete your User keys. These keys are specific to you, and are used to automatically complete information in the templates. This step is only required once; when it is completed the values you enter are used for all your templates in all your cases.
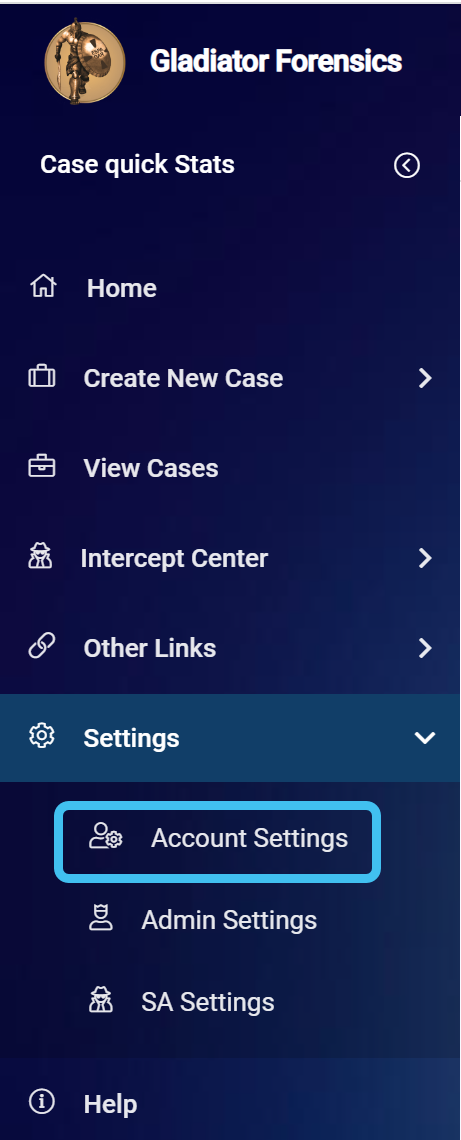
On the Main menu, click Settings then Account Settings.
The Account Settings screen opens.
In User preferences, click User keys.
The Manage user keys screen opens.
Enter your details in each setting then click Save.
On your case's Manage case screen click Templates.
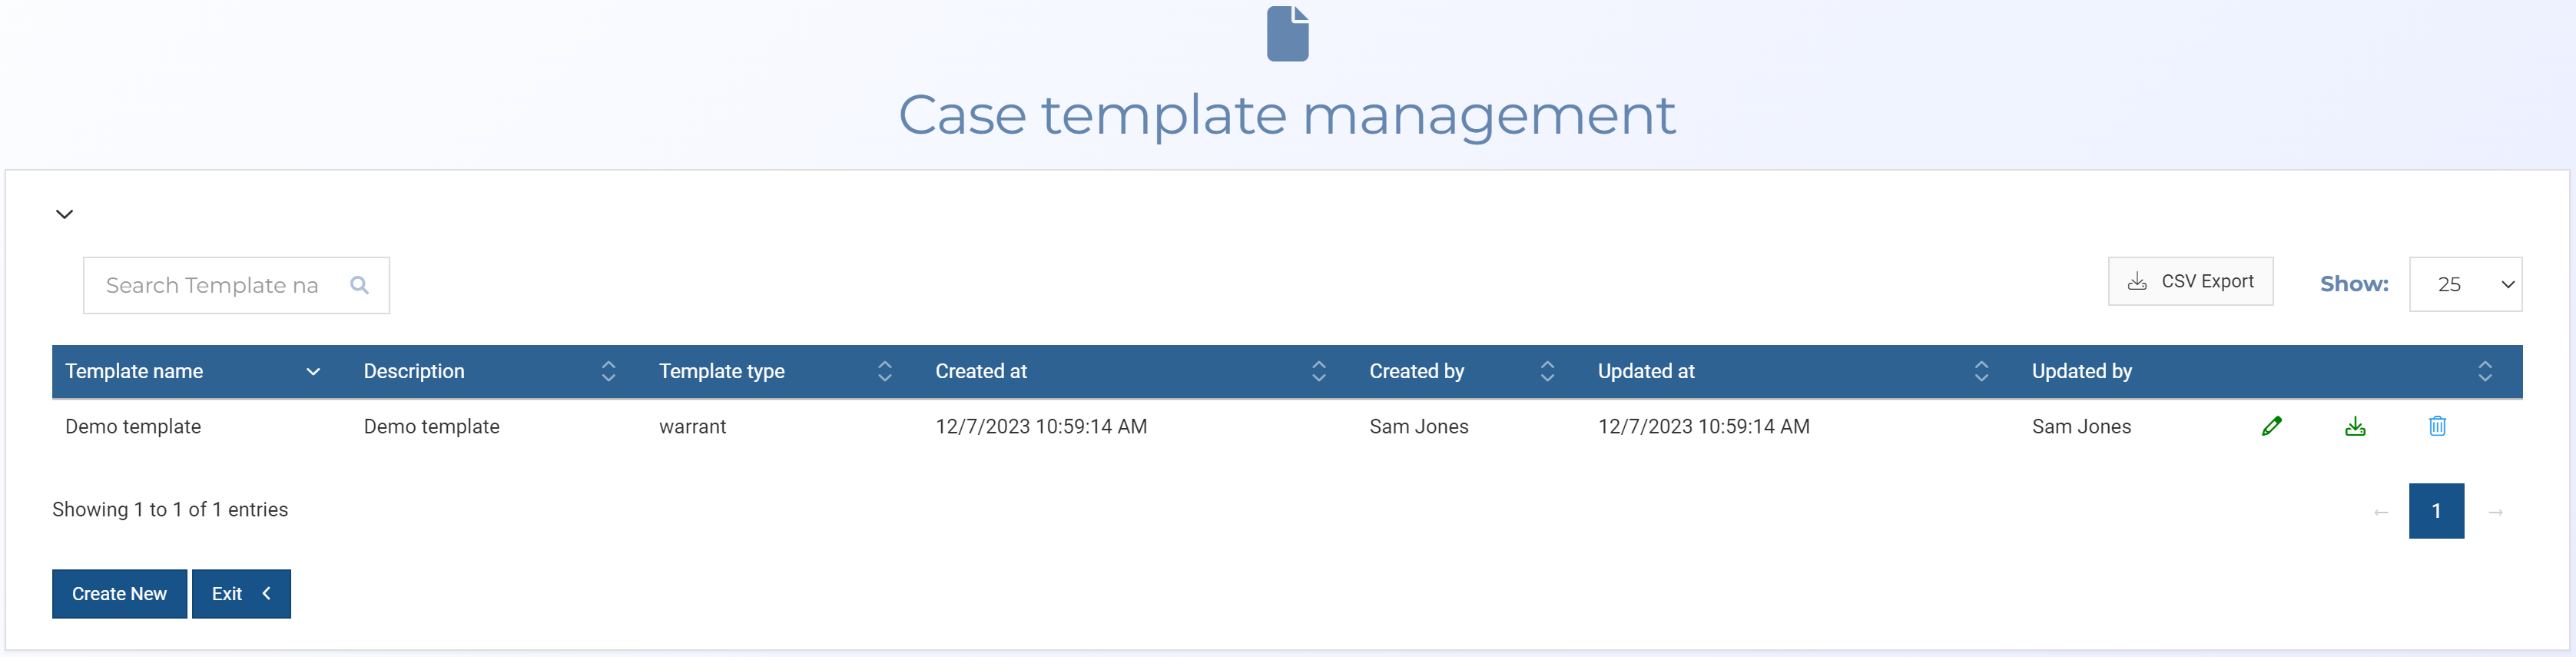
The Case template management screen opens
Click Create new.
Note, if you have a pre-existing template similar to what you want you can also click , then change the template name and edit the contents.
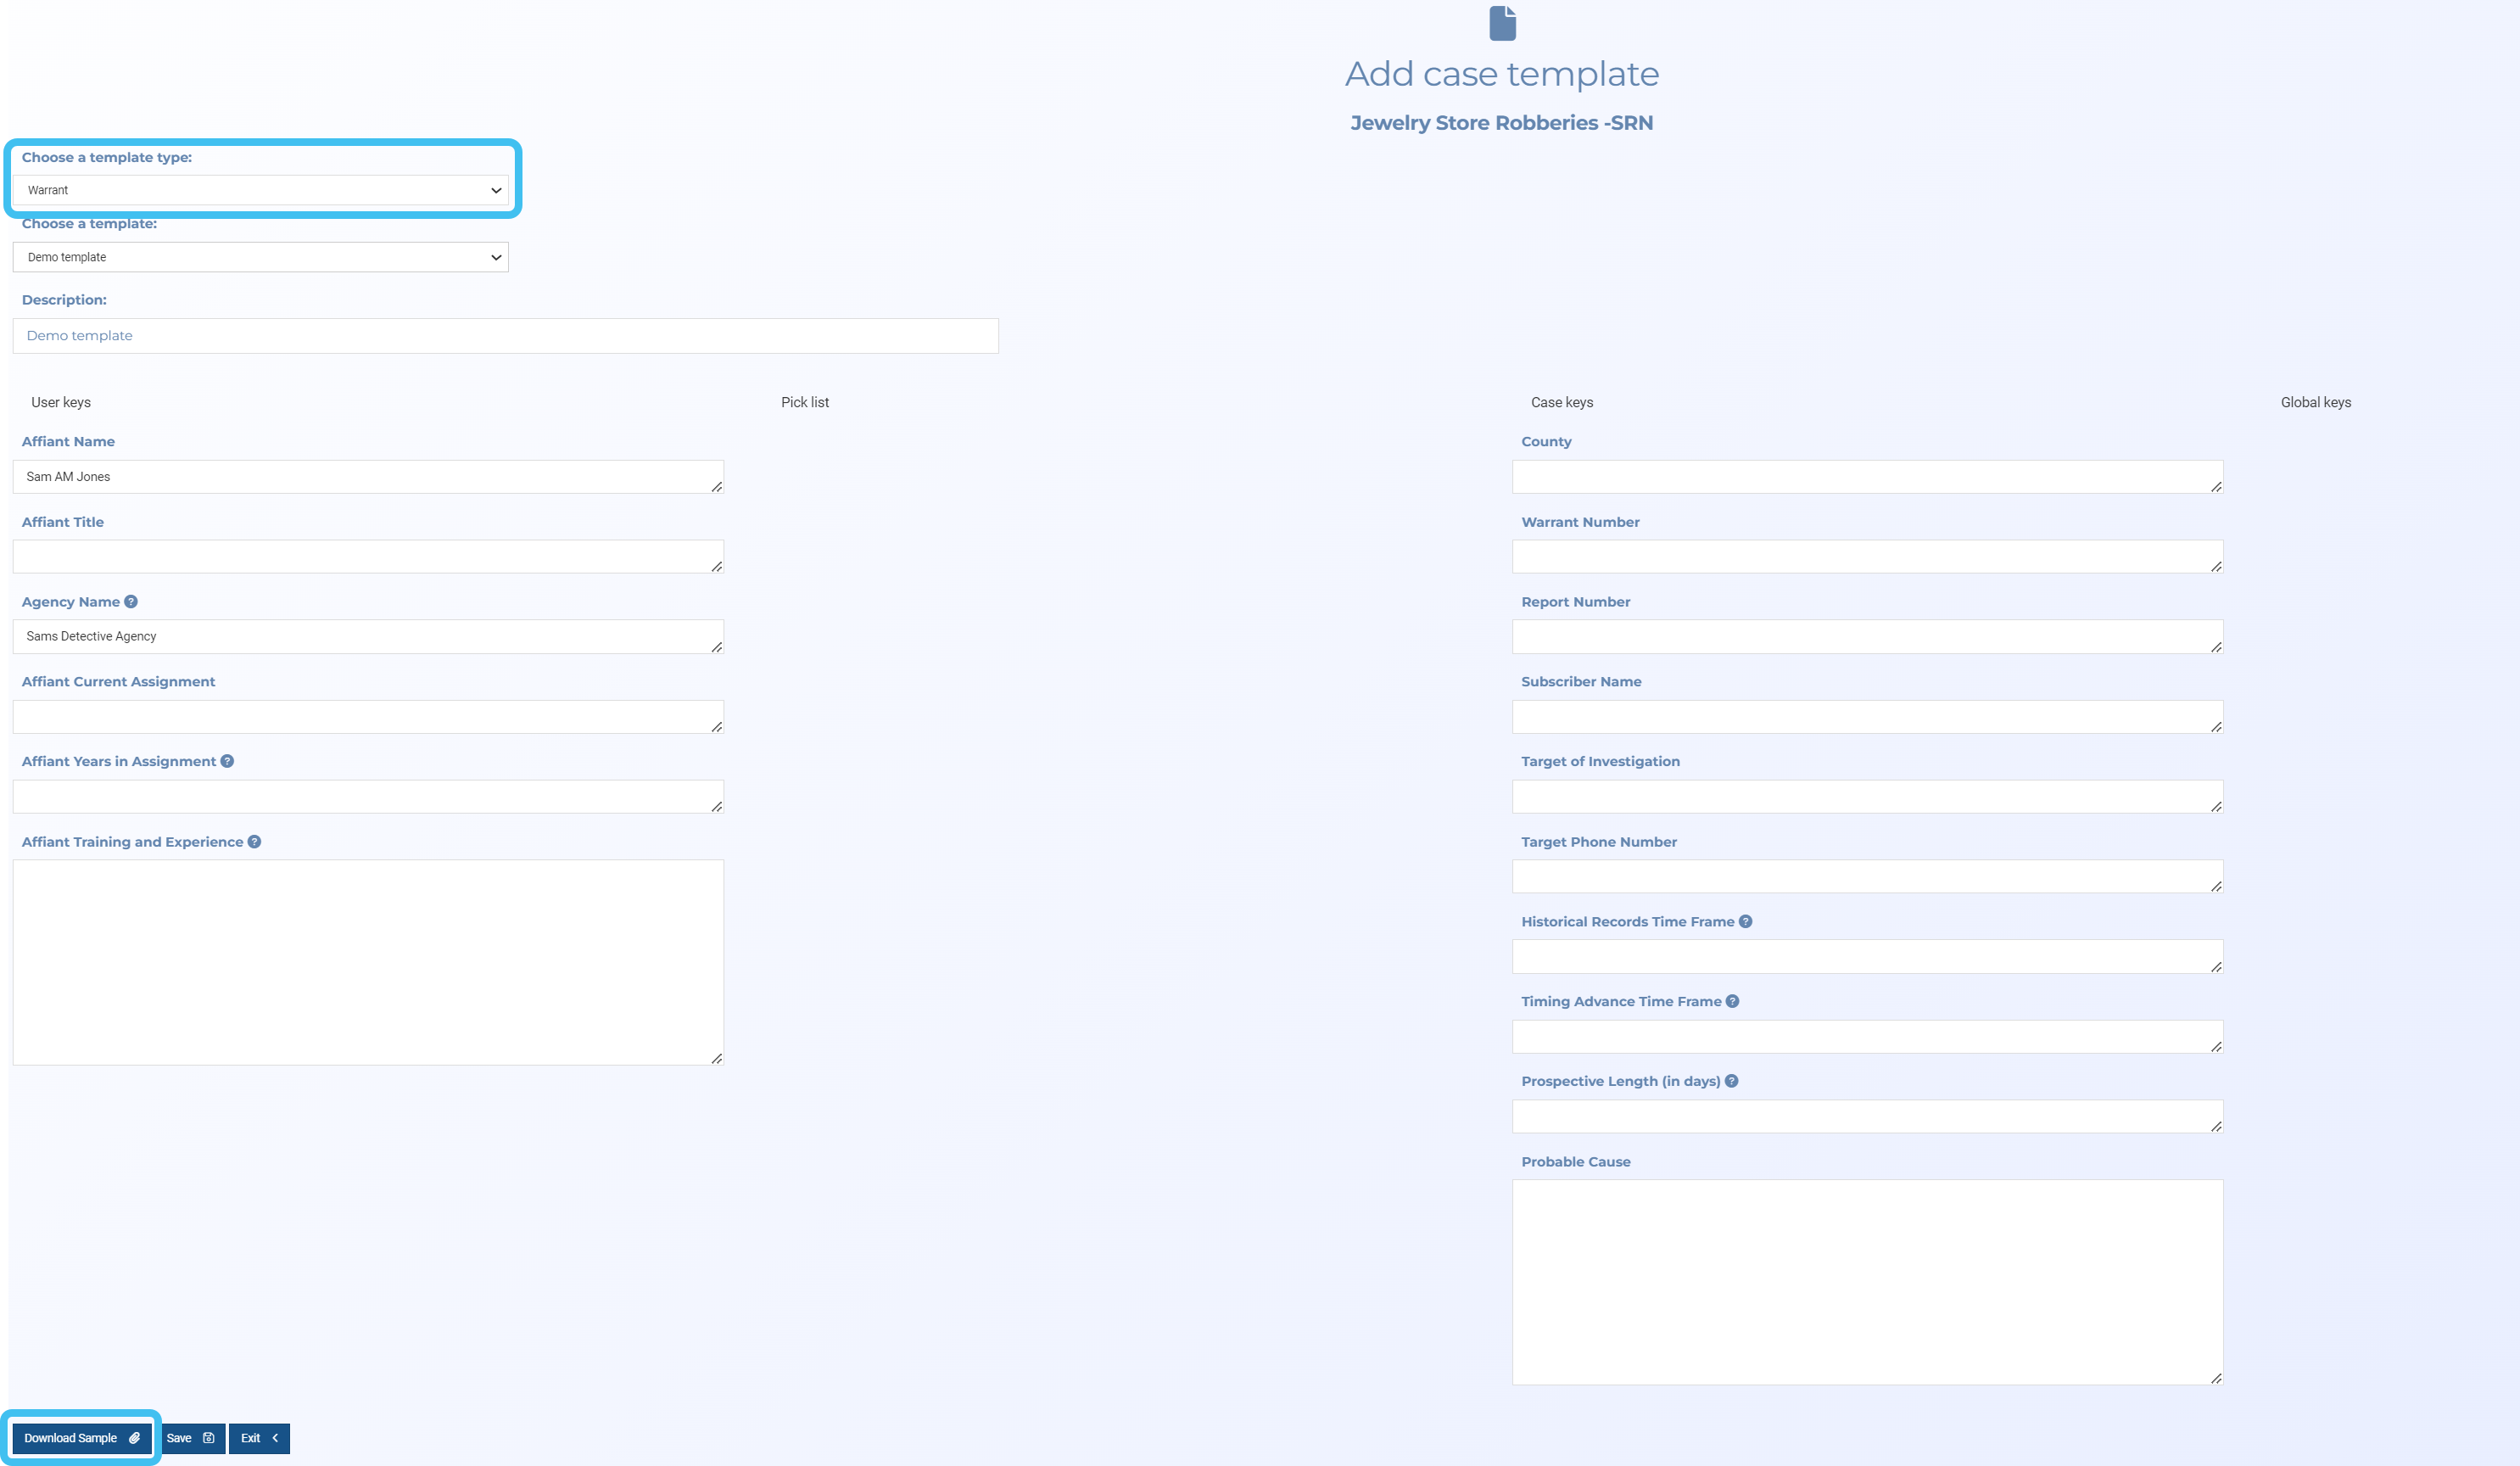
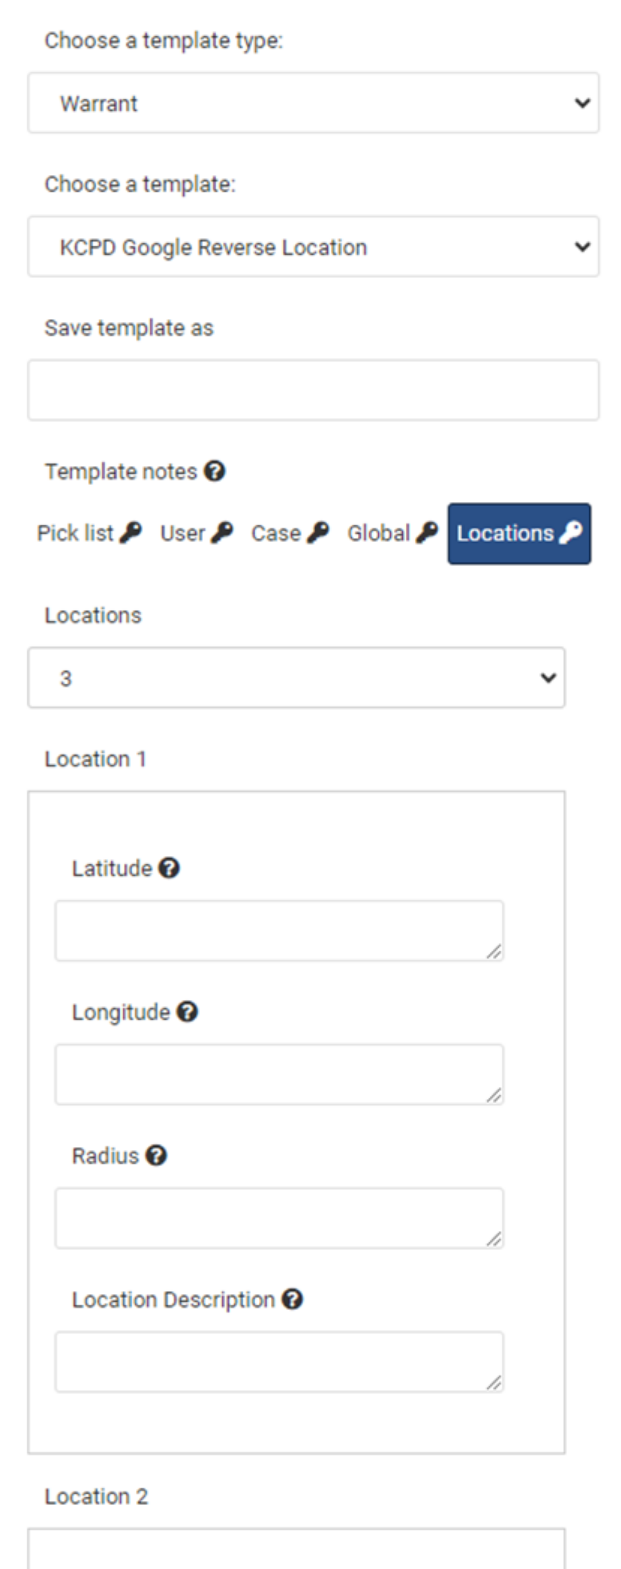
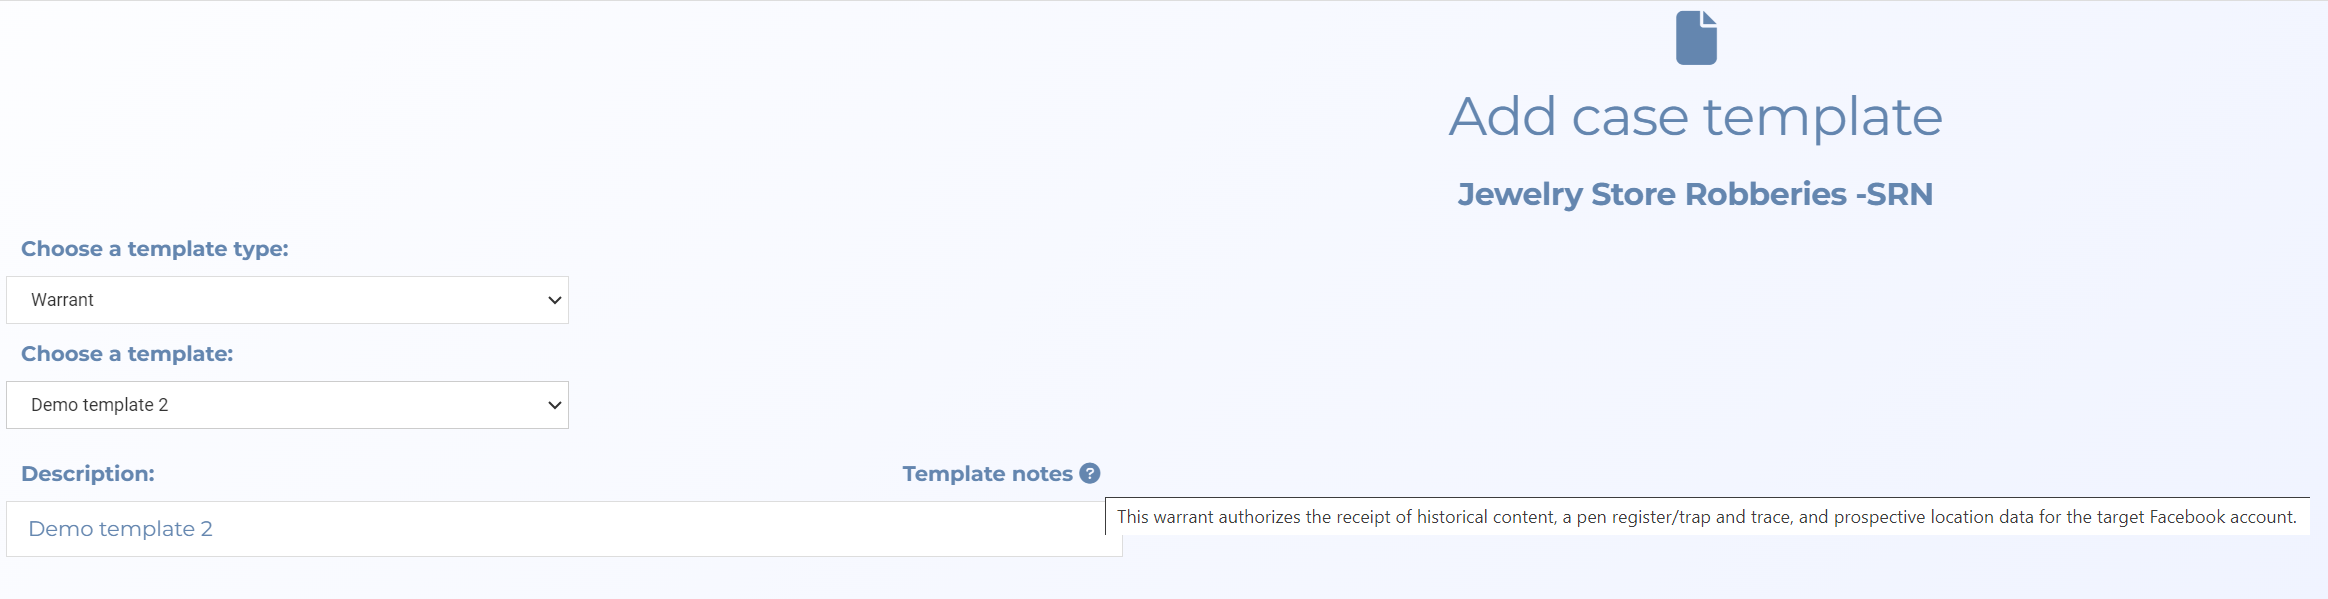
In Choose a template type, select the type of template that you want to add. This step is optional as it simply filters the list of templates that are displayed in Choose a template which is useful if there are a large number of templates.
In Choose a template, select the template you want to use to create your document.
Note, if you are unsure which to select you can select a name and if:
Template notes is displayed it means your administrator has included some notes or instructions so help you understand how to use the template.
Download sample is displayed it means your administrator has uploaded a sample document to provide you with an example of what the completed template looks like and which therefore helps you author it appropriately. Click Download sample to view it.
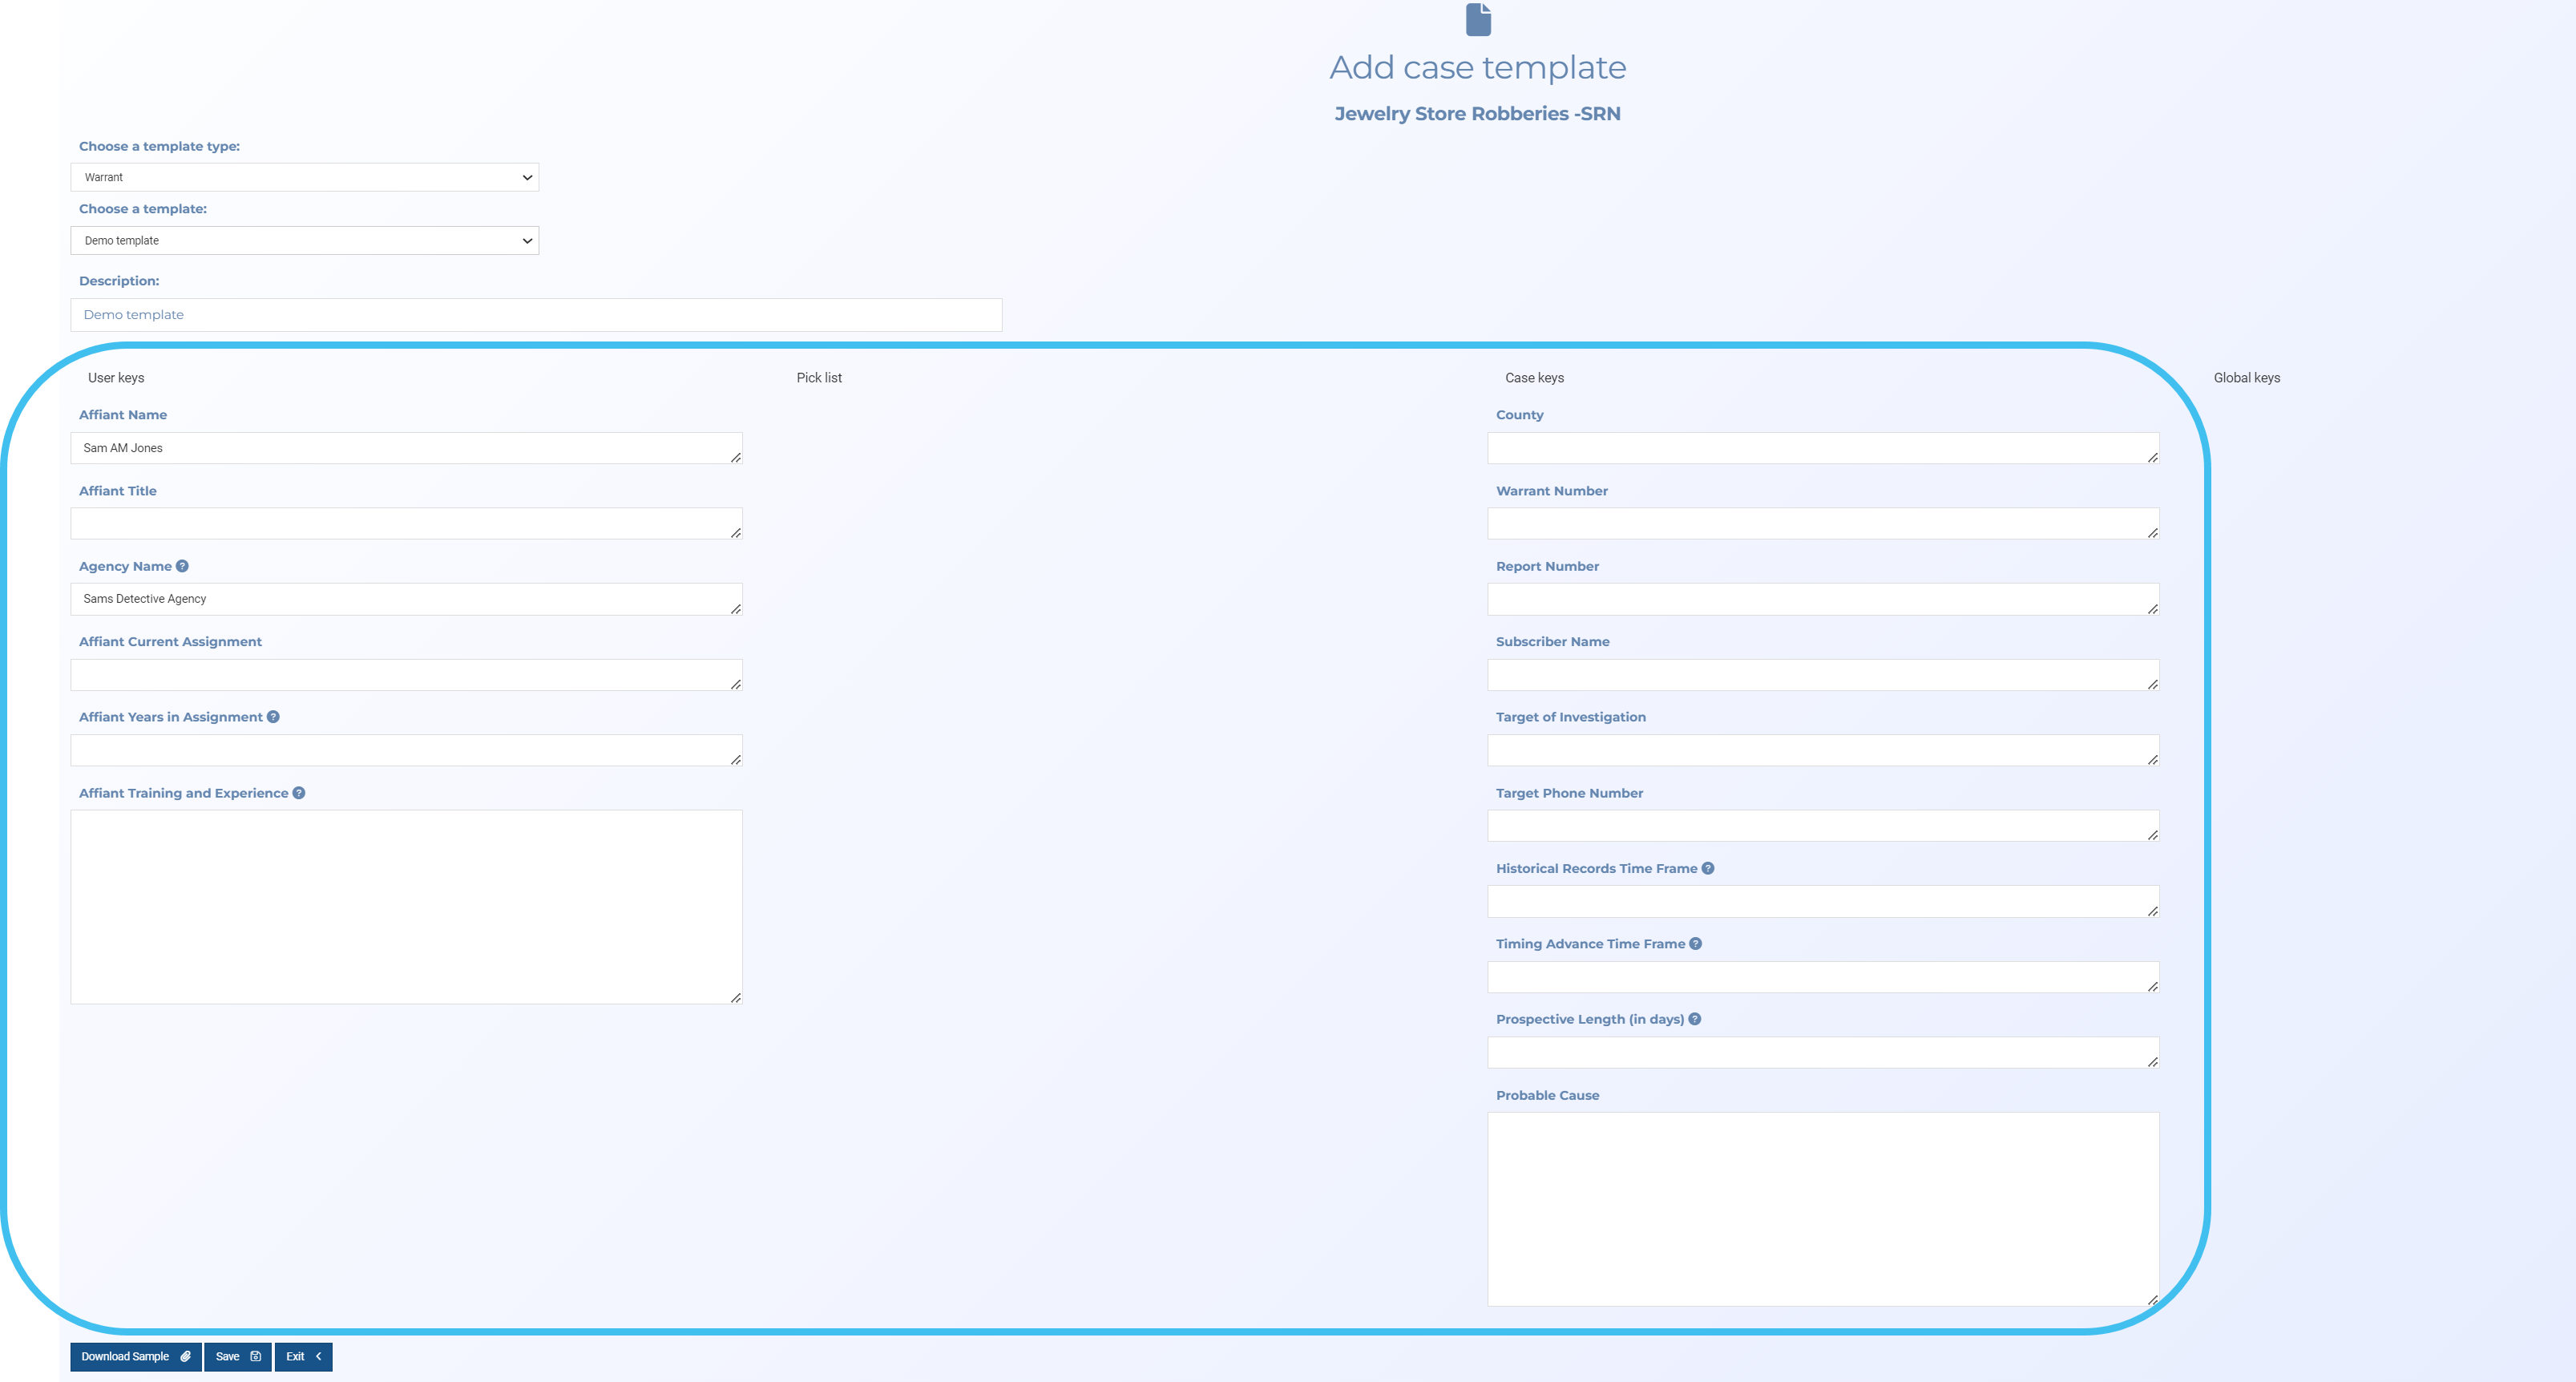
Once you have selected your template, complete all the User keys, Pick list and Case keys displayed on the screen, then click Save.
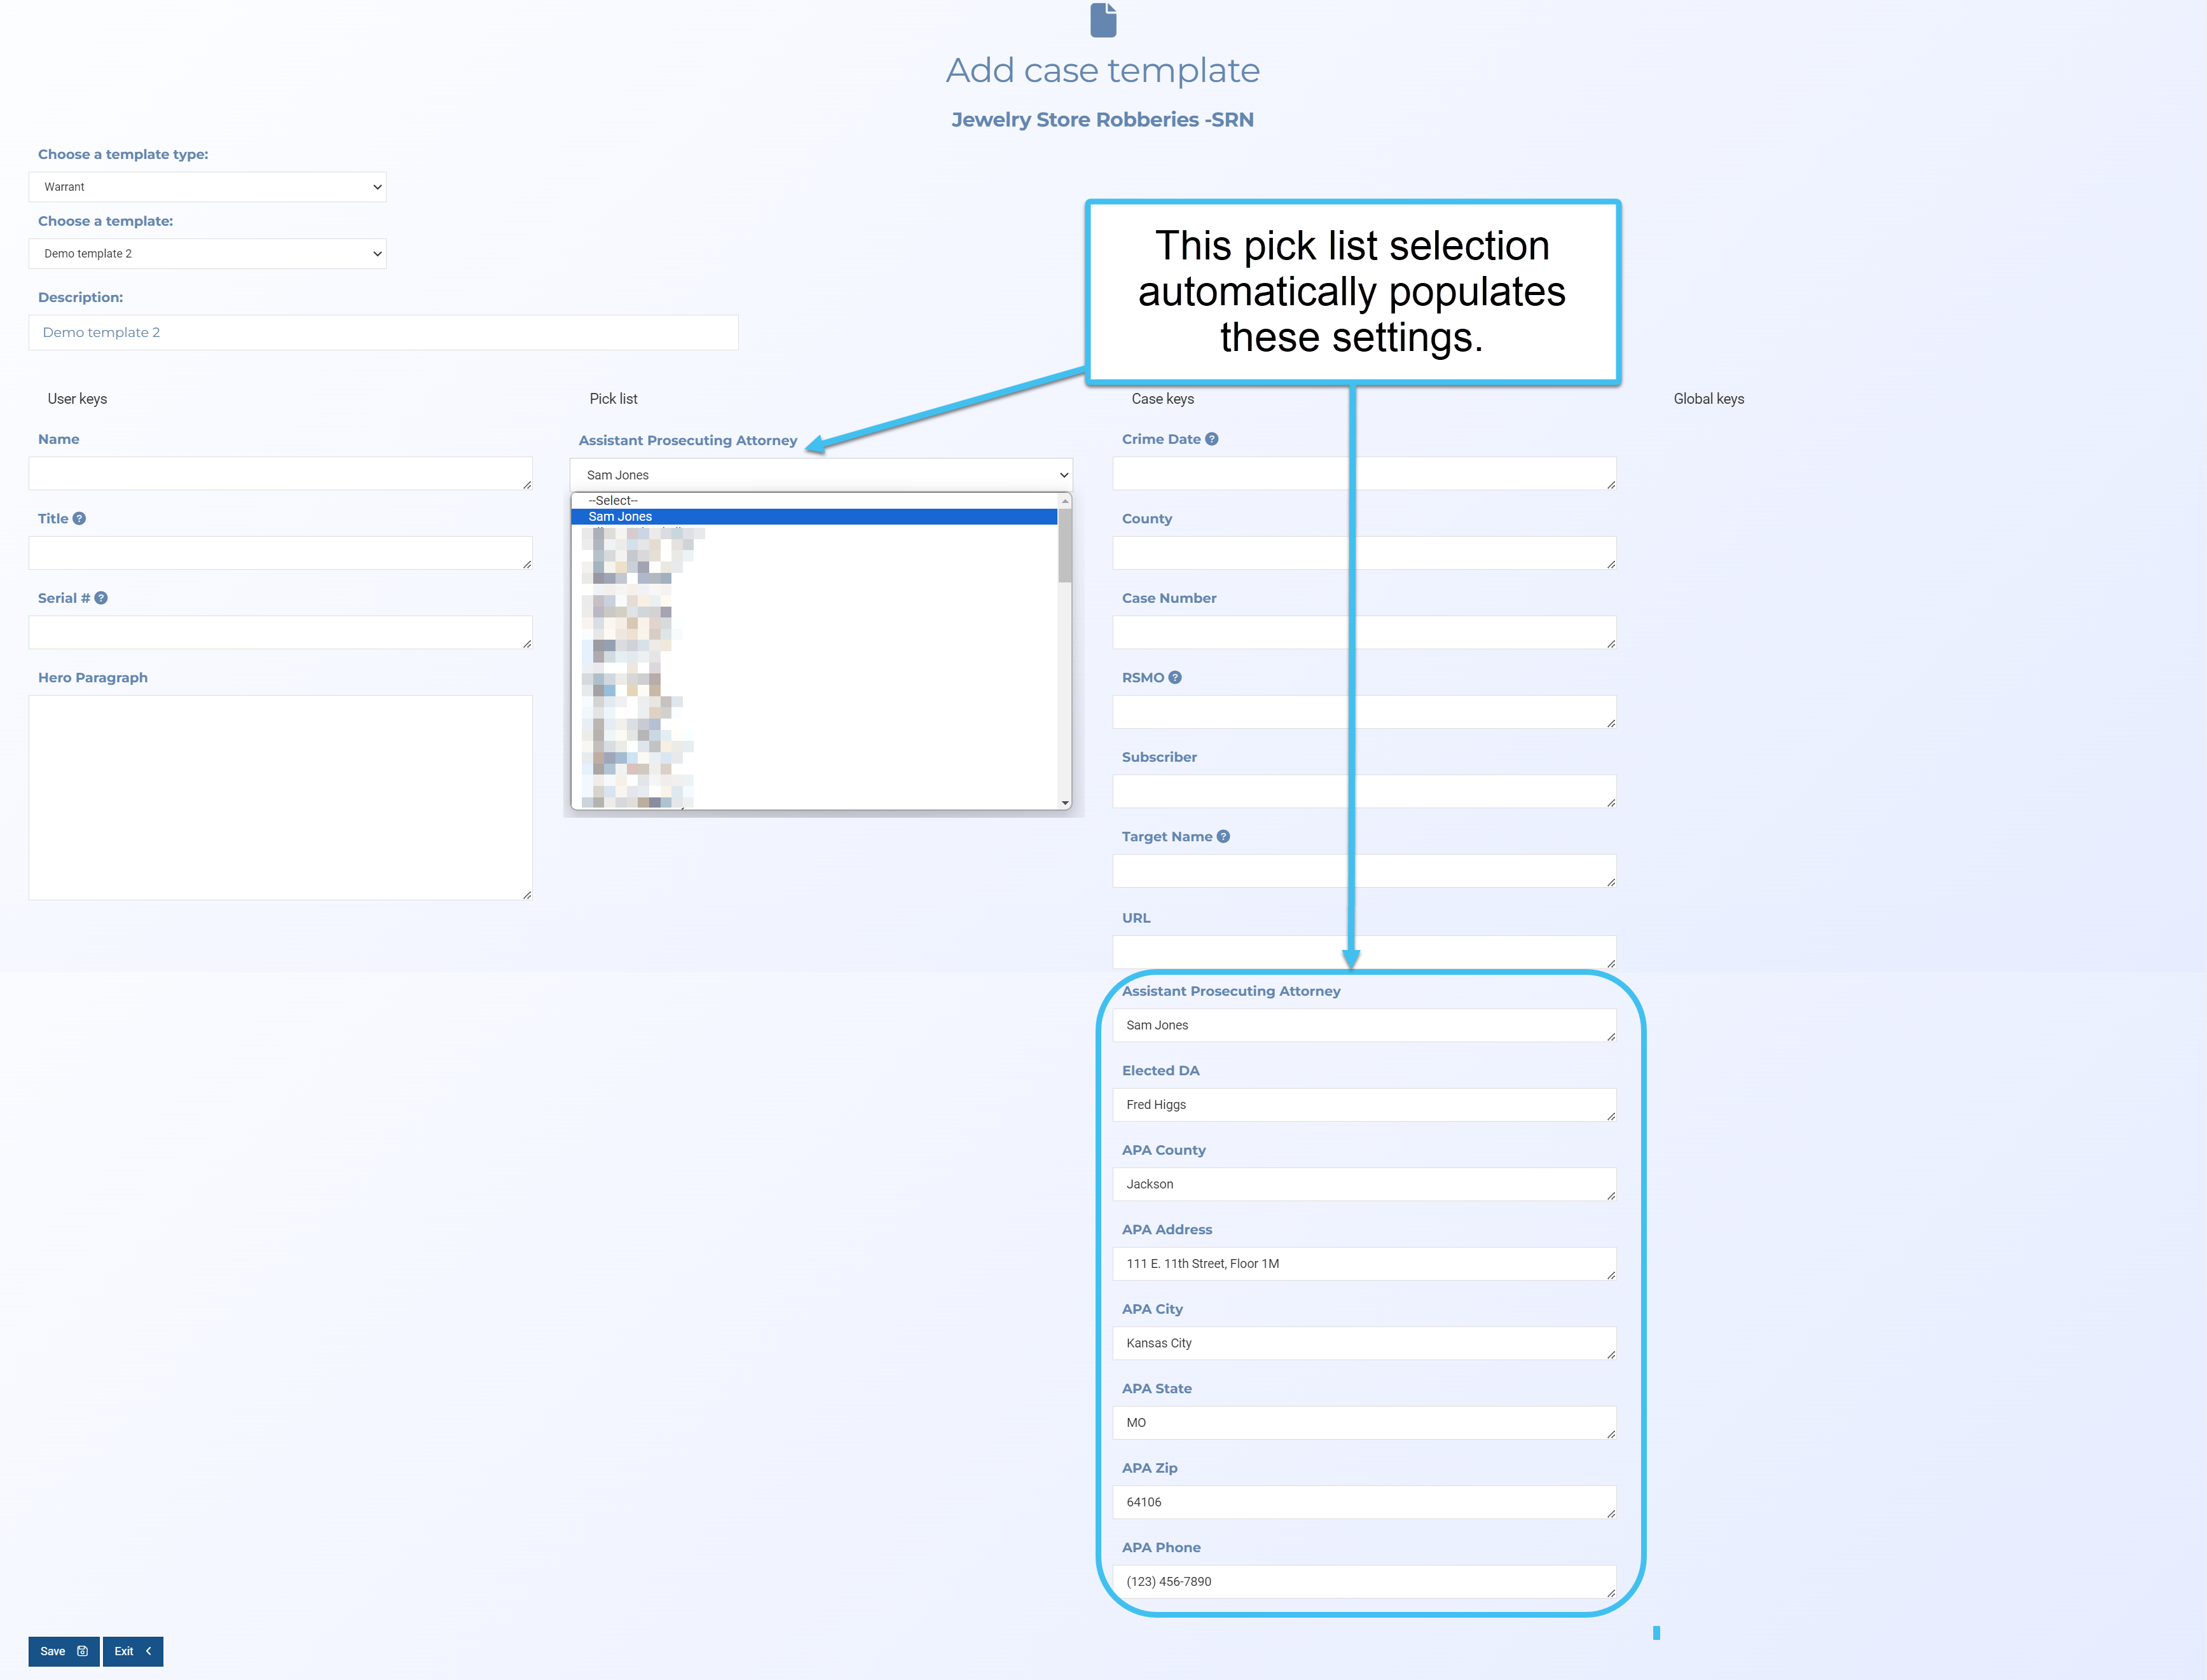
Note, if you have any Pick list keys then selecting an option from the menu automatically populates other settings in your template.
If the template is intended for tower dump and geofence cases then in Locations you must also select the number of locations in your case. You are then prompted to enter the details of each location as required by the template, such as the location name, latitude, longitude and radius.
The Case template management screen opens.
If you want to download and view your document, click .
 Using templates
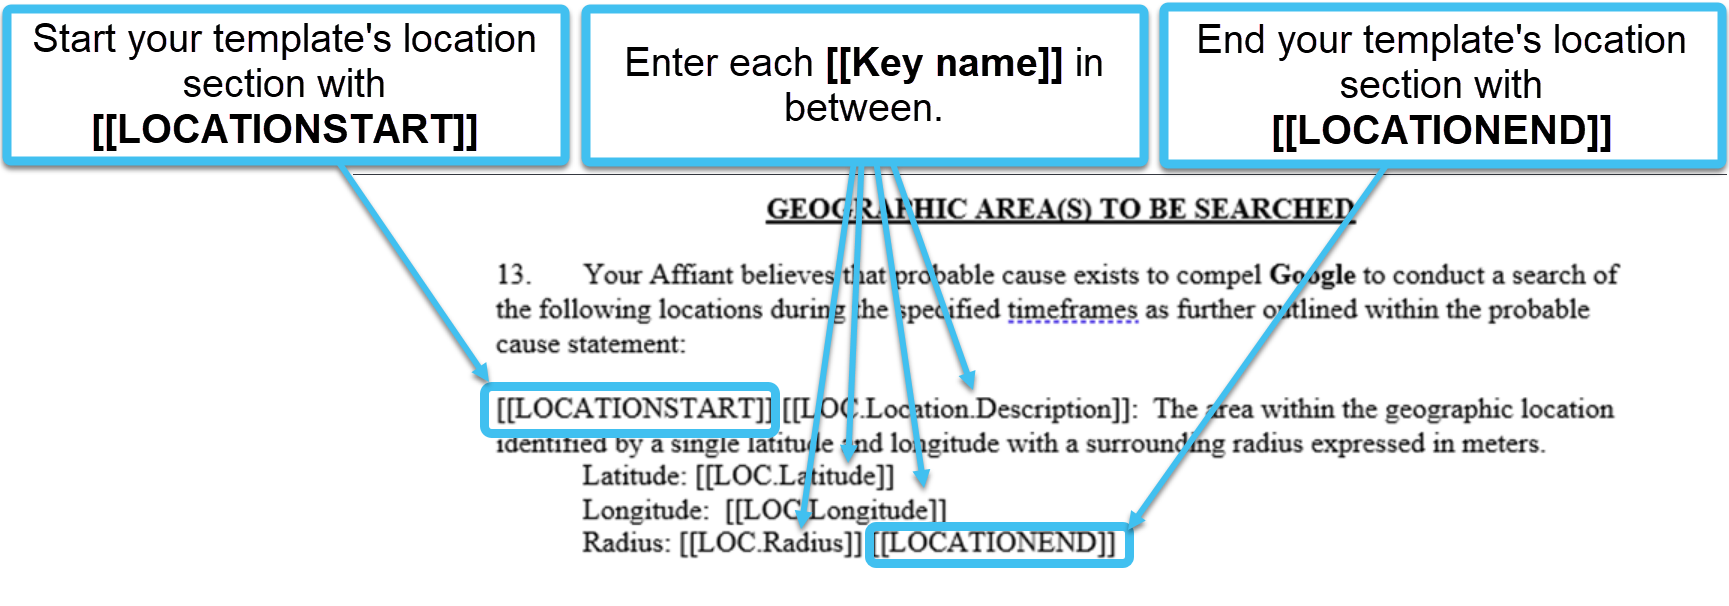


 , then change the template name and edit the contents.